
What:
Let’s say you already have a list of leads – for example, you bought a list online or even made your own list from Google searches. In this case, you'd want to upload your own list of Prospects to Mediarails to add them to your email workflows for outreach.
Why:
In addition to adding your external lists to Mediarails for automated outreach, Mediarails also enhances all URLs even if they are uploaded to the system. Enhancements include monthly visitor count, social followers (if the URL is a supported social profile), and email addresses. Remember, email addresses can only be found by the Mediarails system if there is a publicly listed email address for the website or social profile.
How:
Only CSV file types can be uploaded to Mediarails. The main thing to remember when importing your CSV files into Mediarails is that the Columns on the CSV need to match the columns on Mediarails exactly. See the chart below for required and suggested Column headers.
For example: in Mediarails all websites are known as Media Property URLs. Therefore the name of the column in your CSV must be "Media Property URLs". If your column header reads "Website" the import will fail.
Necessary and Suggested Column Headers
| Columns | Description & Priority |
| Name | Required: The name of a Prospect |
| Media Property URLs | Required: Website or social profile URLs for the Prospect |
| Brands | Suggested: Your company's brands that align with the Prospect record |
| Primary Contact Email | Suggested (if known): the primary email address for the Prospect |
| Tags | Tag your Prospects so you can easily find the uploaded Prospects later or for added organization |
| Categories | Another tag type used for categorization of records |
| Geographies | Label the geographic location of a Prospect if known |
| Source | Add the source that the records came from for later reference |
| Assigned | Add the Username (as it appears in Mediarails) of the team member you'd like to assign these records to |
How to Import a CSV:
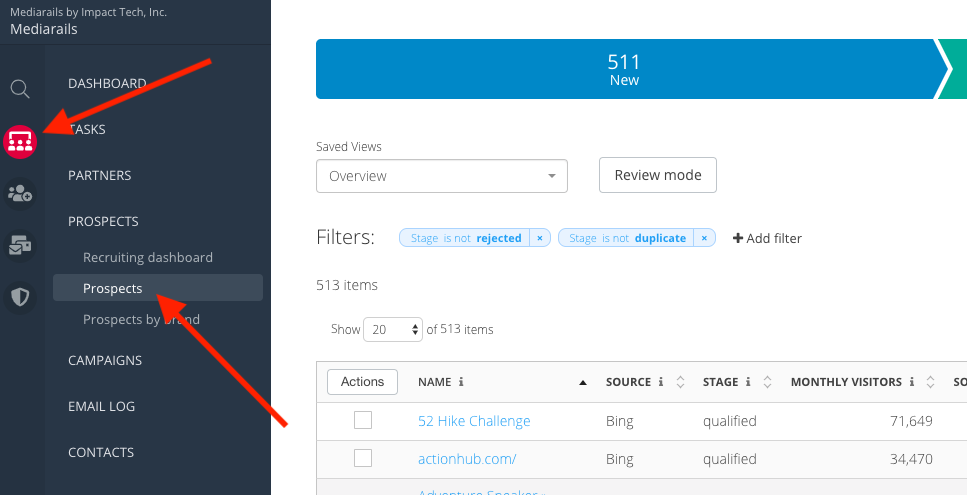
- Navigate to the Prospects workspace by clicking the round CRM icon, then Prospects:
- Click on the Tools button on the bottom right side of the colorful stage bar and click the Import CSV option:
.csv files are the only file type accepted. Please also note that the file must be the "Comma Separated Values" type, not any of the other "csv" file types offered in Excel such as "CSV UTF-8".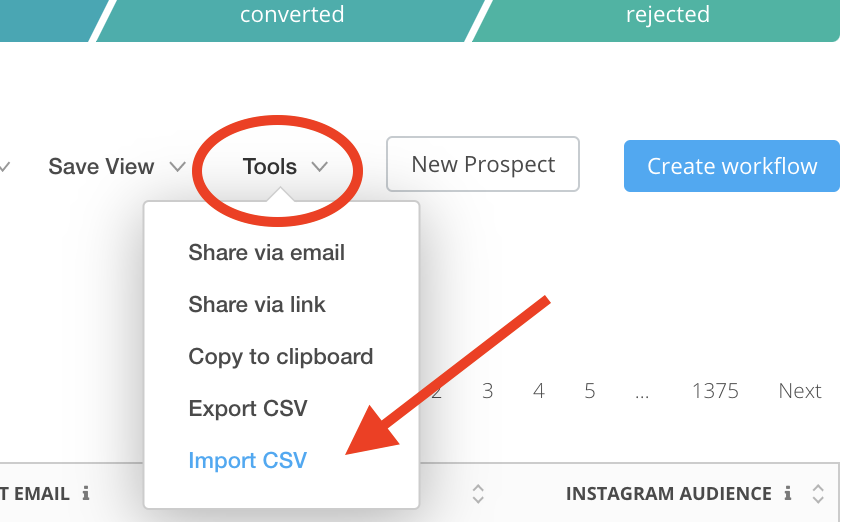
- A popup with two options will appear. See the different uses for the options below and make your selection.
Option #1: Download - This will export a file with all Prospects and Columns that are currently on your screen. This is intended to be your CSV template for importing. Before clicking the Download button, add any desired columns to the screen so they are downloaded on the template. If you already have a file ready, see option #2.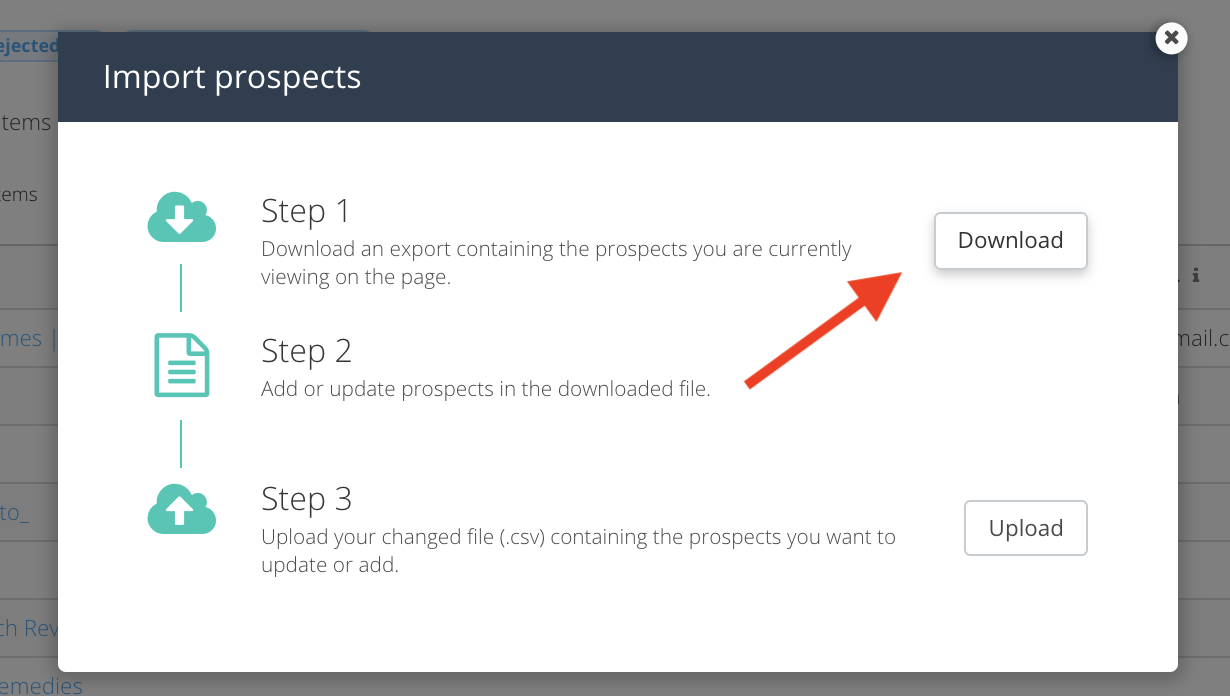
Option #2: Upload - This is the button to upload your file. If you already have a CSV ready, or you already clicked the Download button and modified your template. Click here to upload the final file.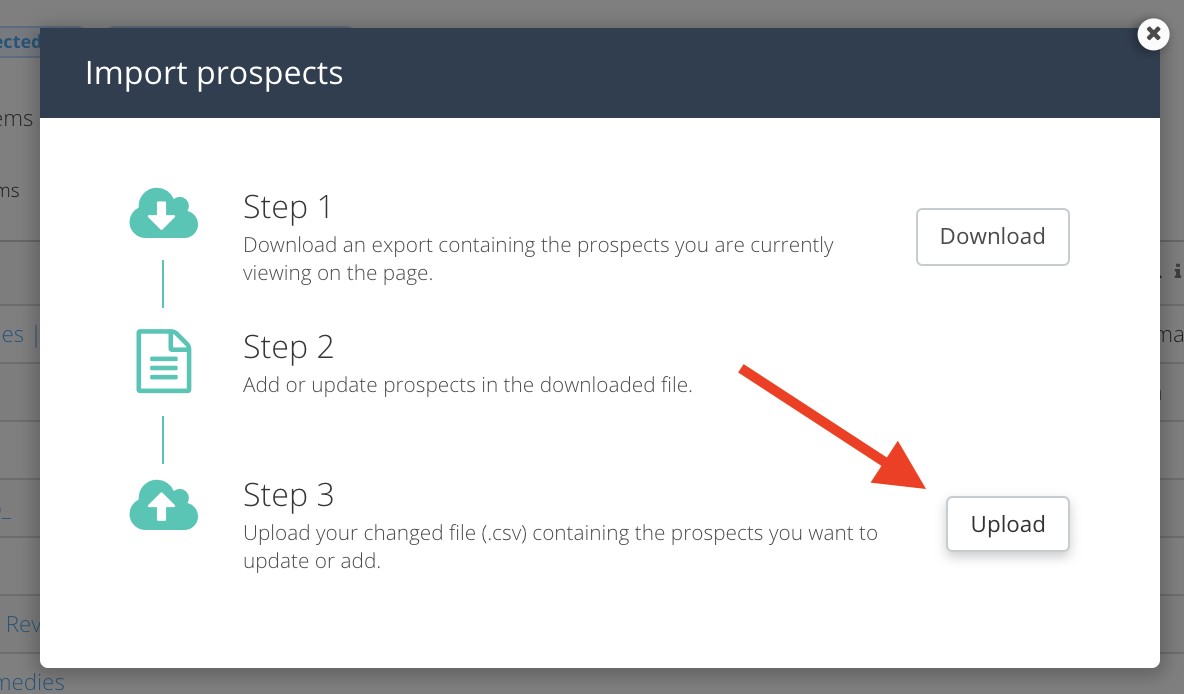
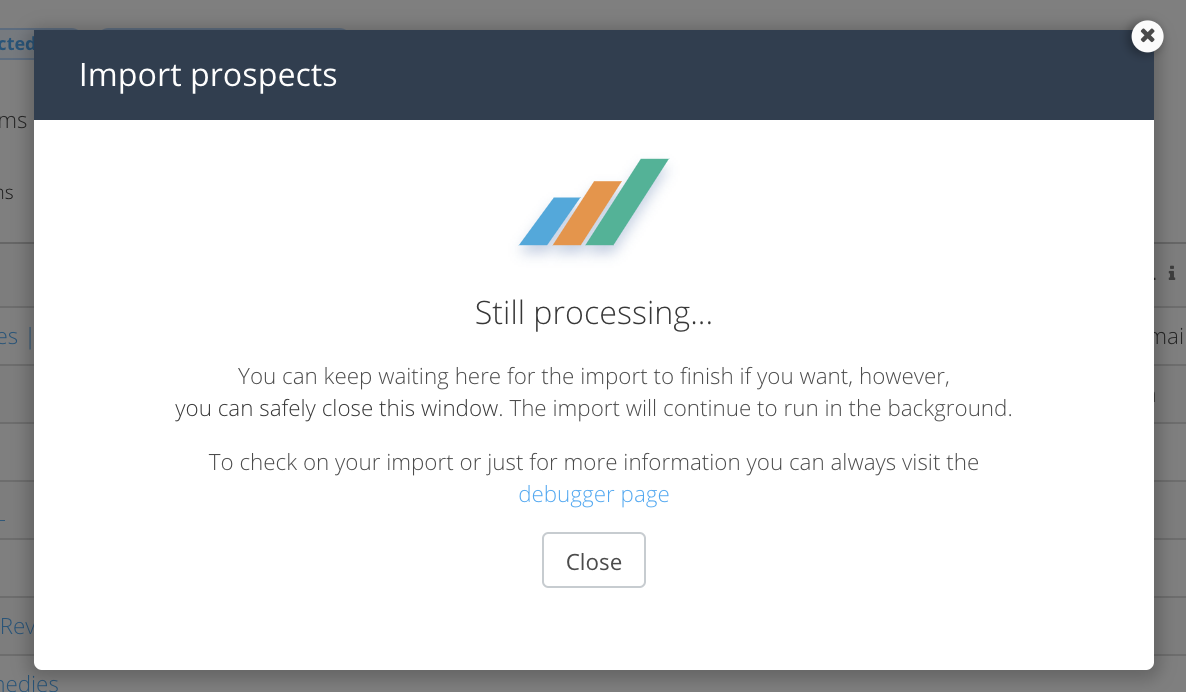
- Once you have selected your file from the Upload prompt, a loading page will appear for a few moments:
After the load has completed you will either see a "Success!" message or a message telling you that some rows failed.
If you do have failed rows, only the failed rows were not accepted, the rest were accepted successfully. Along with the failure message there will be a link to download a "Failed Row Report" in CSV form.
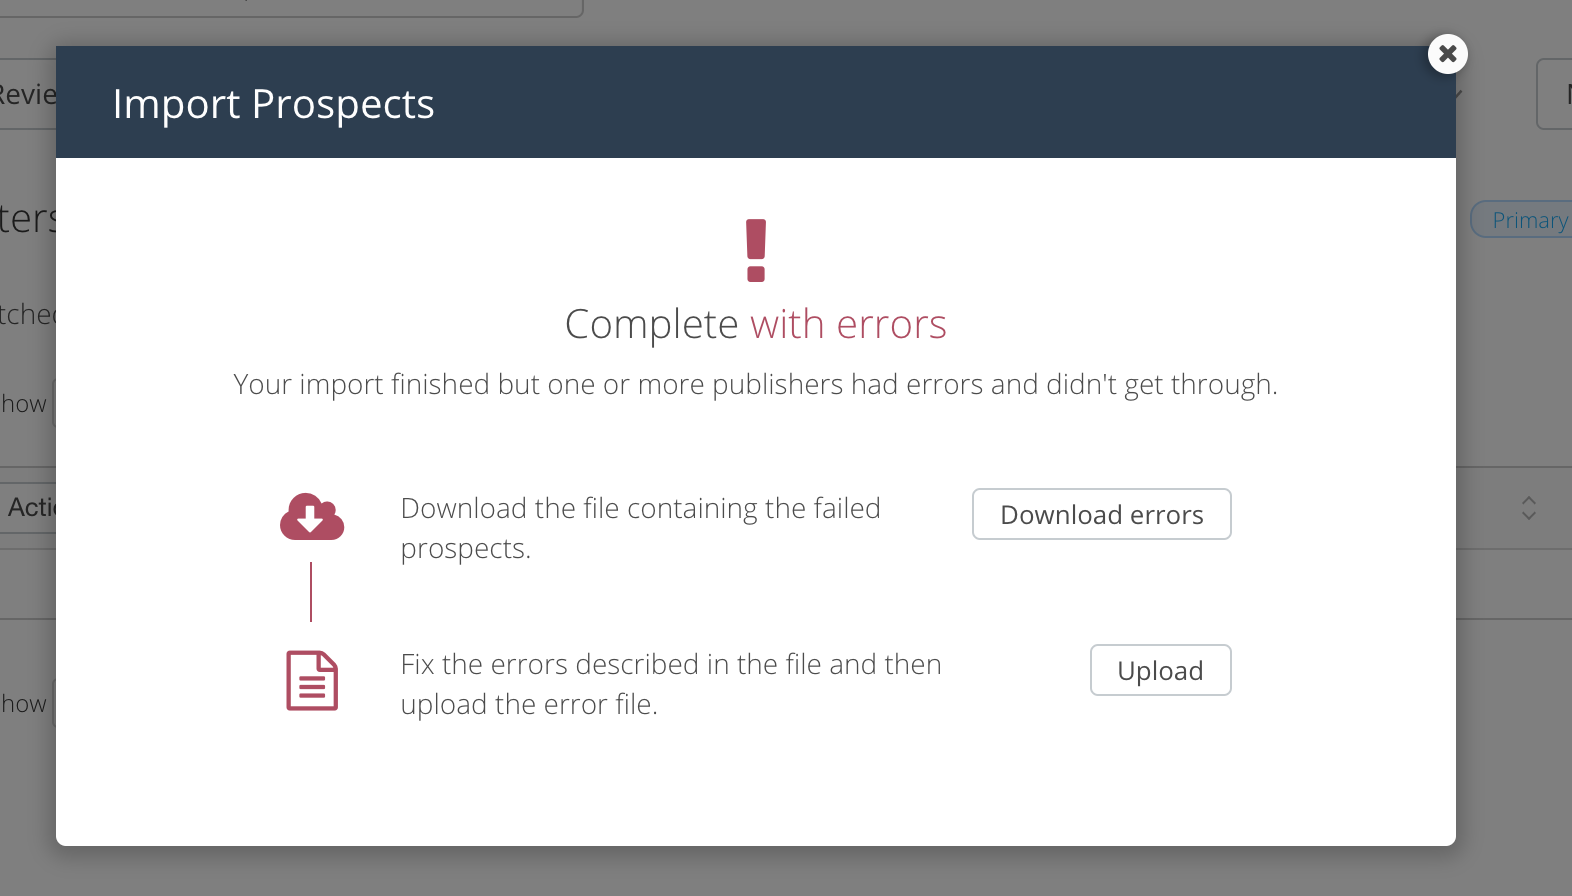
To Correct Errors
Click on the Download Errors button (as seen above) to get a CSV version of a failed row report.
On the two leftmost columns of the report, you will see:
- a column that tells you which column failed for each record
- an error message that tells you why the record failed
1. Using the failed row CSV, correct the issues outlined in the error message column.
2. Then delete the first two columns mentioned above (failed column & error message).
3. Then reload the "failed row" CSV by following the steps above for normal upload.
After the Import
- Data enhancements will still occur on imported records as they do on any other record coming into Mediarails. Social audience, email addresses, Alexa, and MOZ data points may take up to 24 hours to populate on newly added records.
- To access the Failed Row Report later or to troubleshoot further, see instructions on using the Mediarails debugger Page here
Notes & Tips:
- Please also note that the .csv file must be the "Comma Separated Values" type, not any of the other "csv" file types offered in Excel such as "CSV UTF-8".
- ID Column: If you want to use importing to update existing records, you will need the Prospect's ID column, otherwise you may be creating duplicates in the system.
- Name column: When filling in your Name field it is a best practice to make this as easy to read as possible, for example, if you are using a website URL, you would want to remove the (http://www.) so it just leaves the main web address: "example.com"
- Tag columns: When formatting data in a tag field (Tags, Categories, Geographies, Topics, Etc) you can add multiple tags per field by separating them with a comma, no space.
- Note on cleaning up your template: Once exported, Delete the "id" column from your export prior to upload (the ID is only used when updating existing records, not for adding new)
- Primary contact information: You may need to separate the first and last name from your original data to fill in the first and last name for the primary contact information. This can be done using the text to columns function in Excel (1:39 in the video)
- Recommended fields to export to create a template for importing new prospects: (in order of importance)
- Name
- Media Property URLs
- Primary Contact Email
- Primary Contact First Name
- Primary Contact Last Name
- Brands
- Source
- Background Info
- Tags:
- Topics
- Geographies
- Categories
- Competitors
- Tags
- Channel Tags
Comments
0 comments
Article is closed for comments.