
Review Mode enables you to quickly review prospects to decide whether or not you would like to invite them to join your program. Screenshots of a prospect's media properties are shown alongside some basic stats to help you make the decision to Qualify or Reject each prospect.
We recommend using a pre-filtered view, or a saved view, before opening Review Mode.
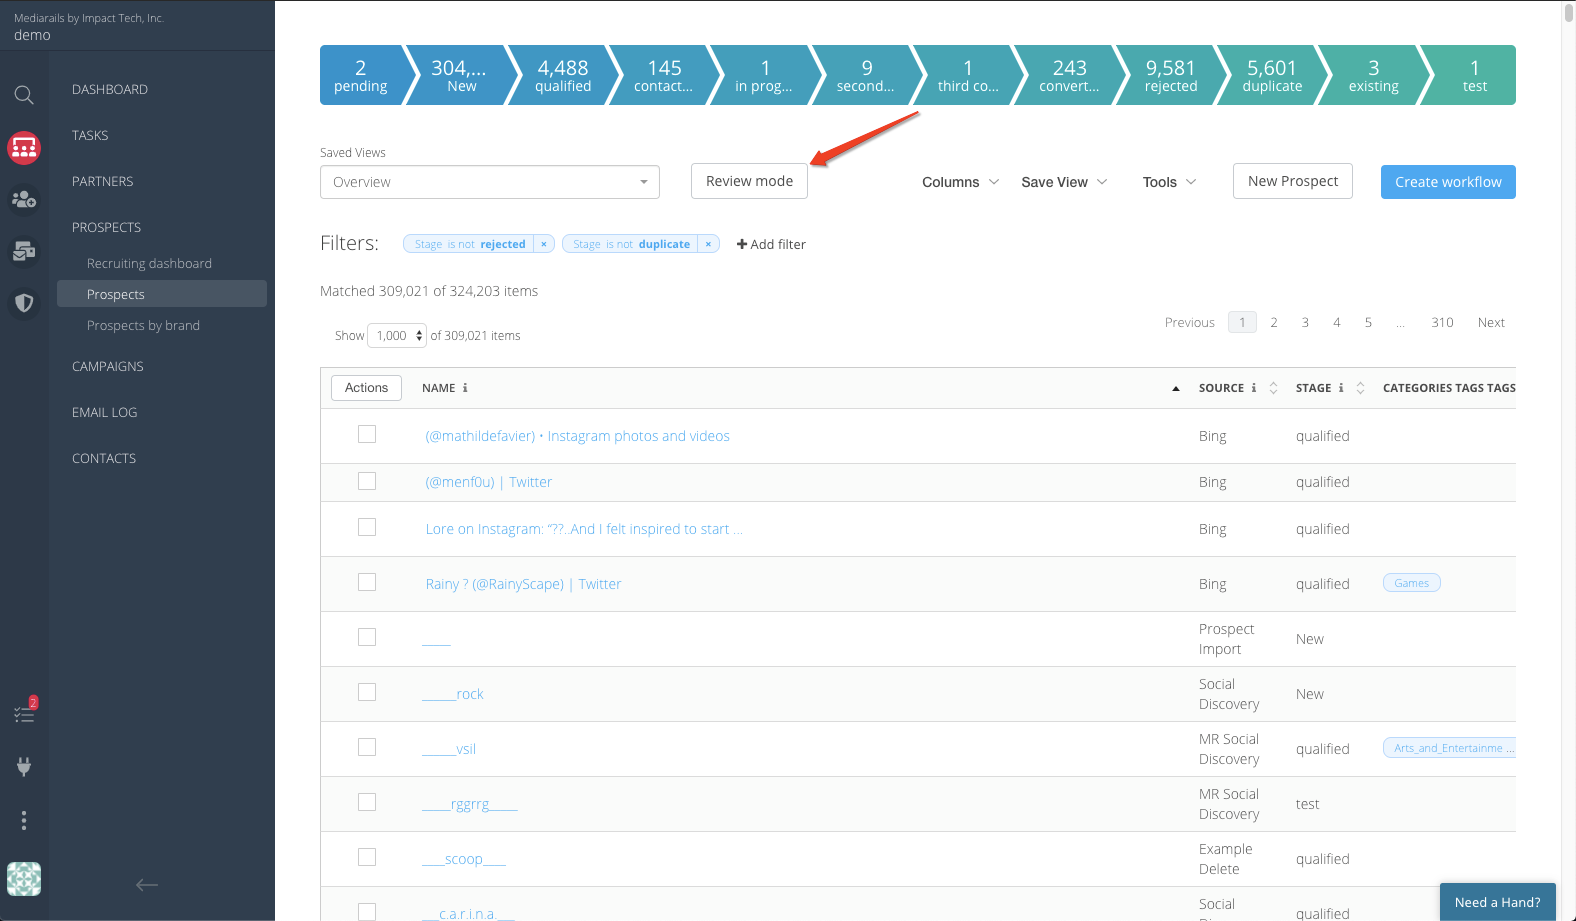
For example, you would likely want to filter out records that are already part of your program, so you should add a filter for Recruited Brands is not (your brand). You can add multiple filters to exclude records in bulk from the list you will be reviewing.
To Open Review Mode:
Click on the button for Review Mode near the top of the Prospects screen
Review Mode will show screenshots of the Prospect's media properties on the left, with quick stats and editable fields on the right:
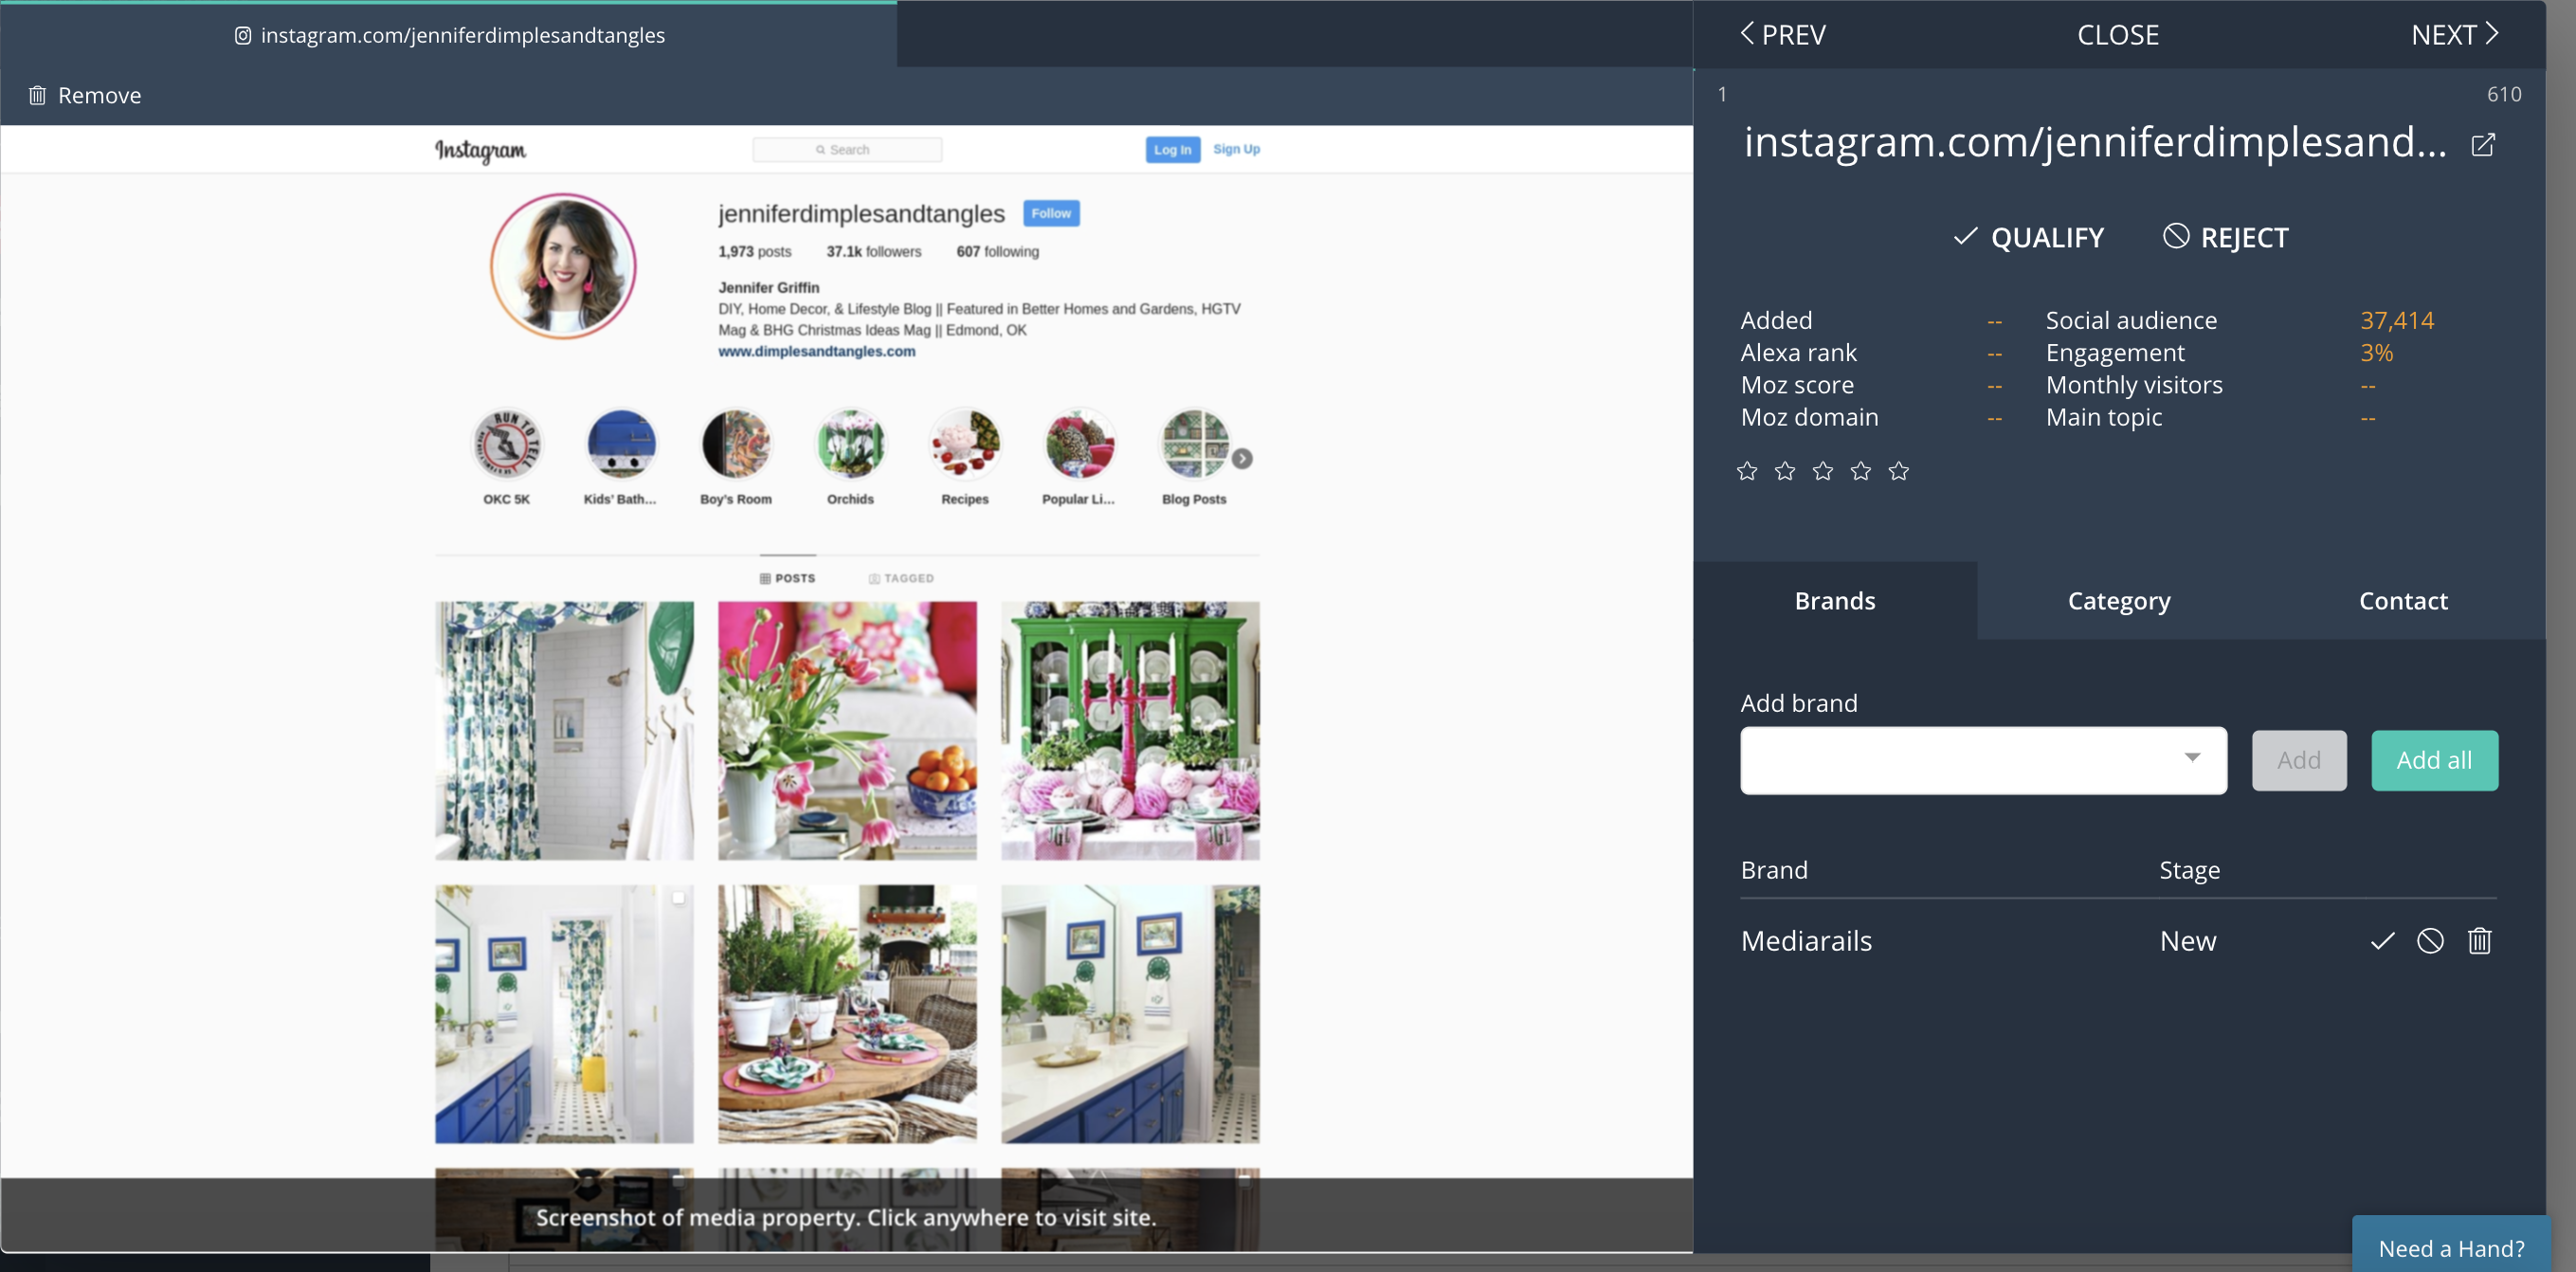
Note: Additional media properties will be shown on tabs across the top of the Review Mode screen. Depending on which types of media properties the record has there will be different quick stats on the top right of Review Mode.
Using Review Mode for Prospect Recruitment:
Step 1:
Select a view from the saved view dropdown if desired. It is suggested to always use a view for reviewing new prospects with specific safeguard filters already present. Please see article here for more info on saved views.
Step 2:
Open Review mode in the prospect section by clicking the Review Mode button
Step 3:
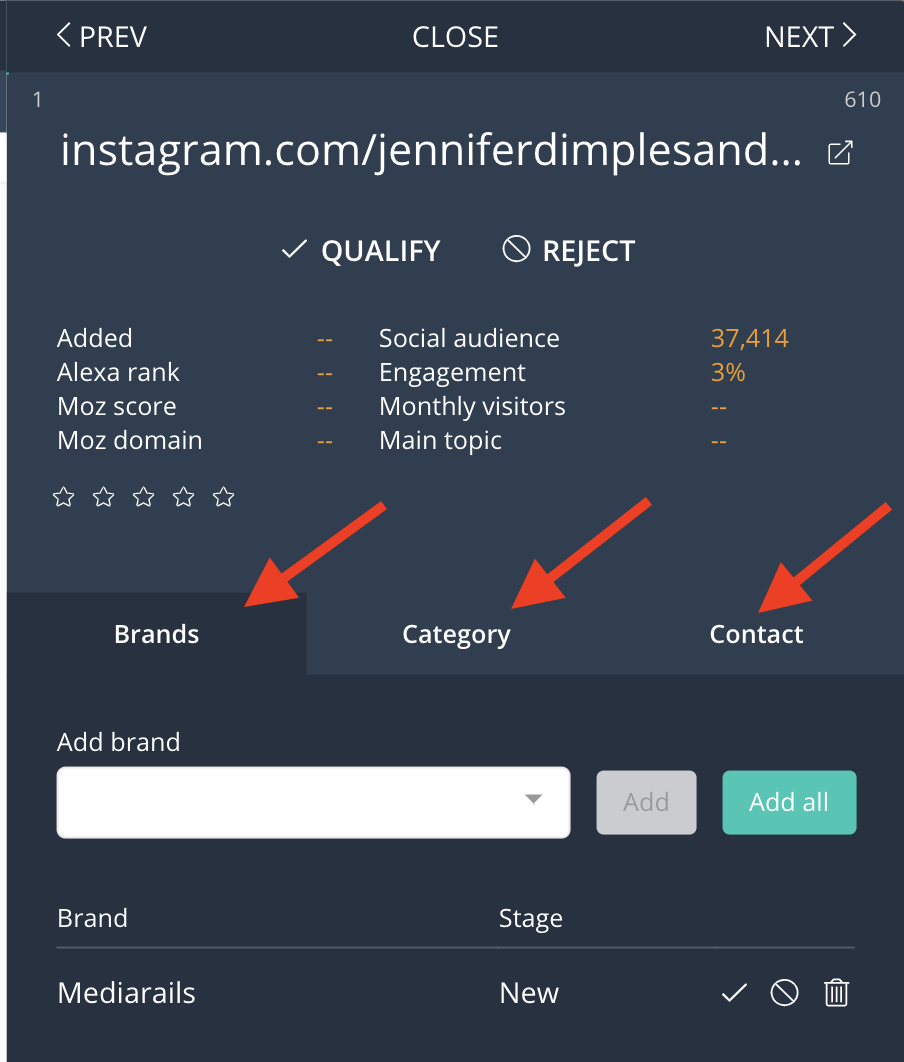
Qualify or Reject each record as you see fit. This moves the record from the New stage, to either Qualified or Rejected. For more info on the Prospect Stages see article here.
For the records you Qualify: you will also likely be adding Tags, Brands, or adjusting contact information as you scan through the websites. This can be done on the tabs like shown below.
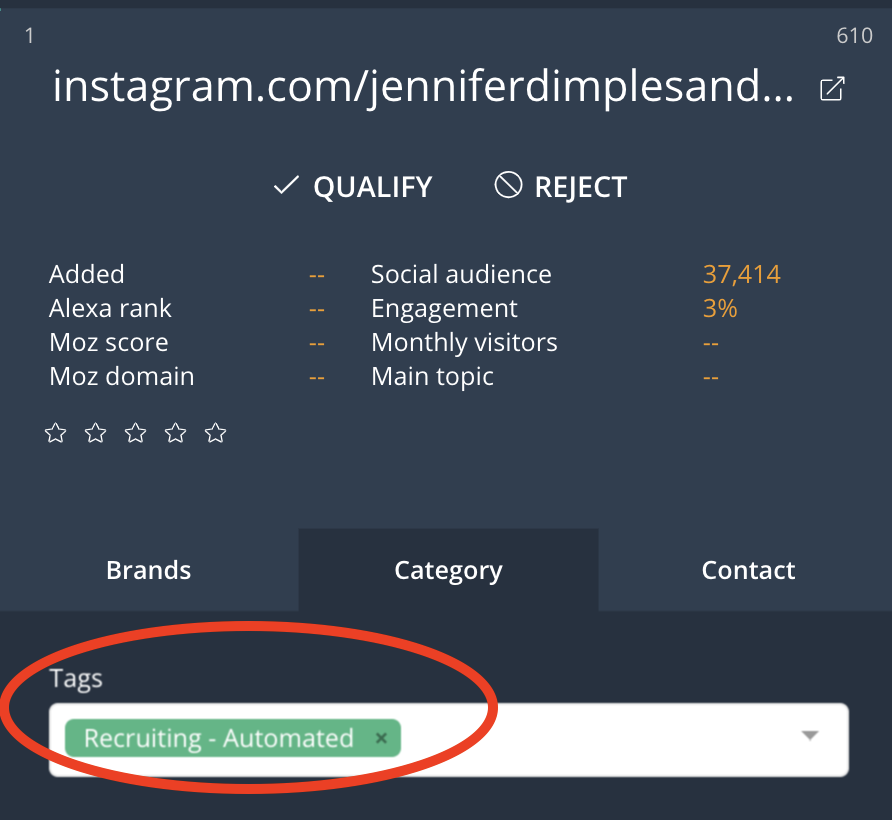
TIP: if you create an automated email workflow campaign, you should create a specific Recruiting tag that will be used for that workflow alone. Remember to always use that tag when qualifying any records with the intention to send them through the automated email workflow.
For more information on how to setup an email workflow for recruiting, please see our full Recruitment 101 course.
Comments
0 comments
Please sign in to leave a comment.