
All columns in Mediarails are able to be used as dynamic content in emails as long as the precise column names are used with double curly brackets on both sides and an underscore in place of any spaces.
For instance, the column called Facebook Urls could be used as dynamic content like this: {{facebook_urls}}
However If you’d like to create your own custom fields for use as dynamic content in email messages you could insert any type of content into your messaging that you’d like.
Step 1: Create Custom Fields
Follow the steps below to create your own custom fields to be used as dynamic content.
-
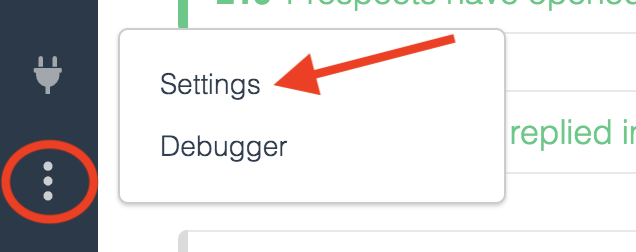
Go to the account Settings page by clicking on the three dot icon in the bottom left sidebar
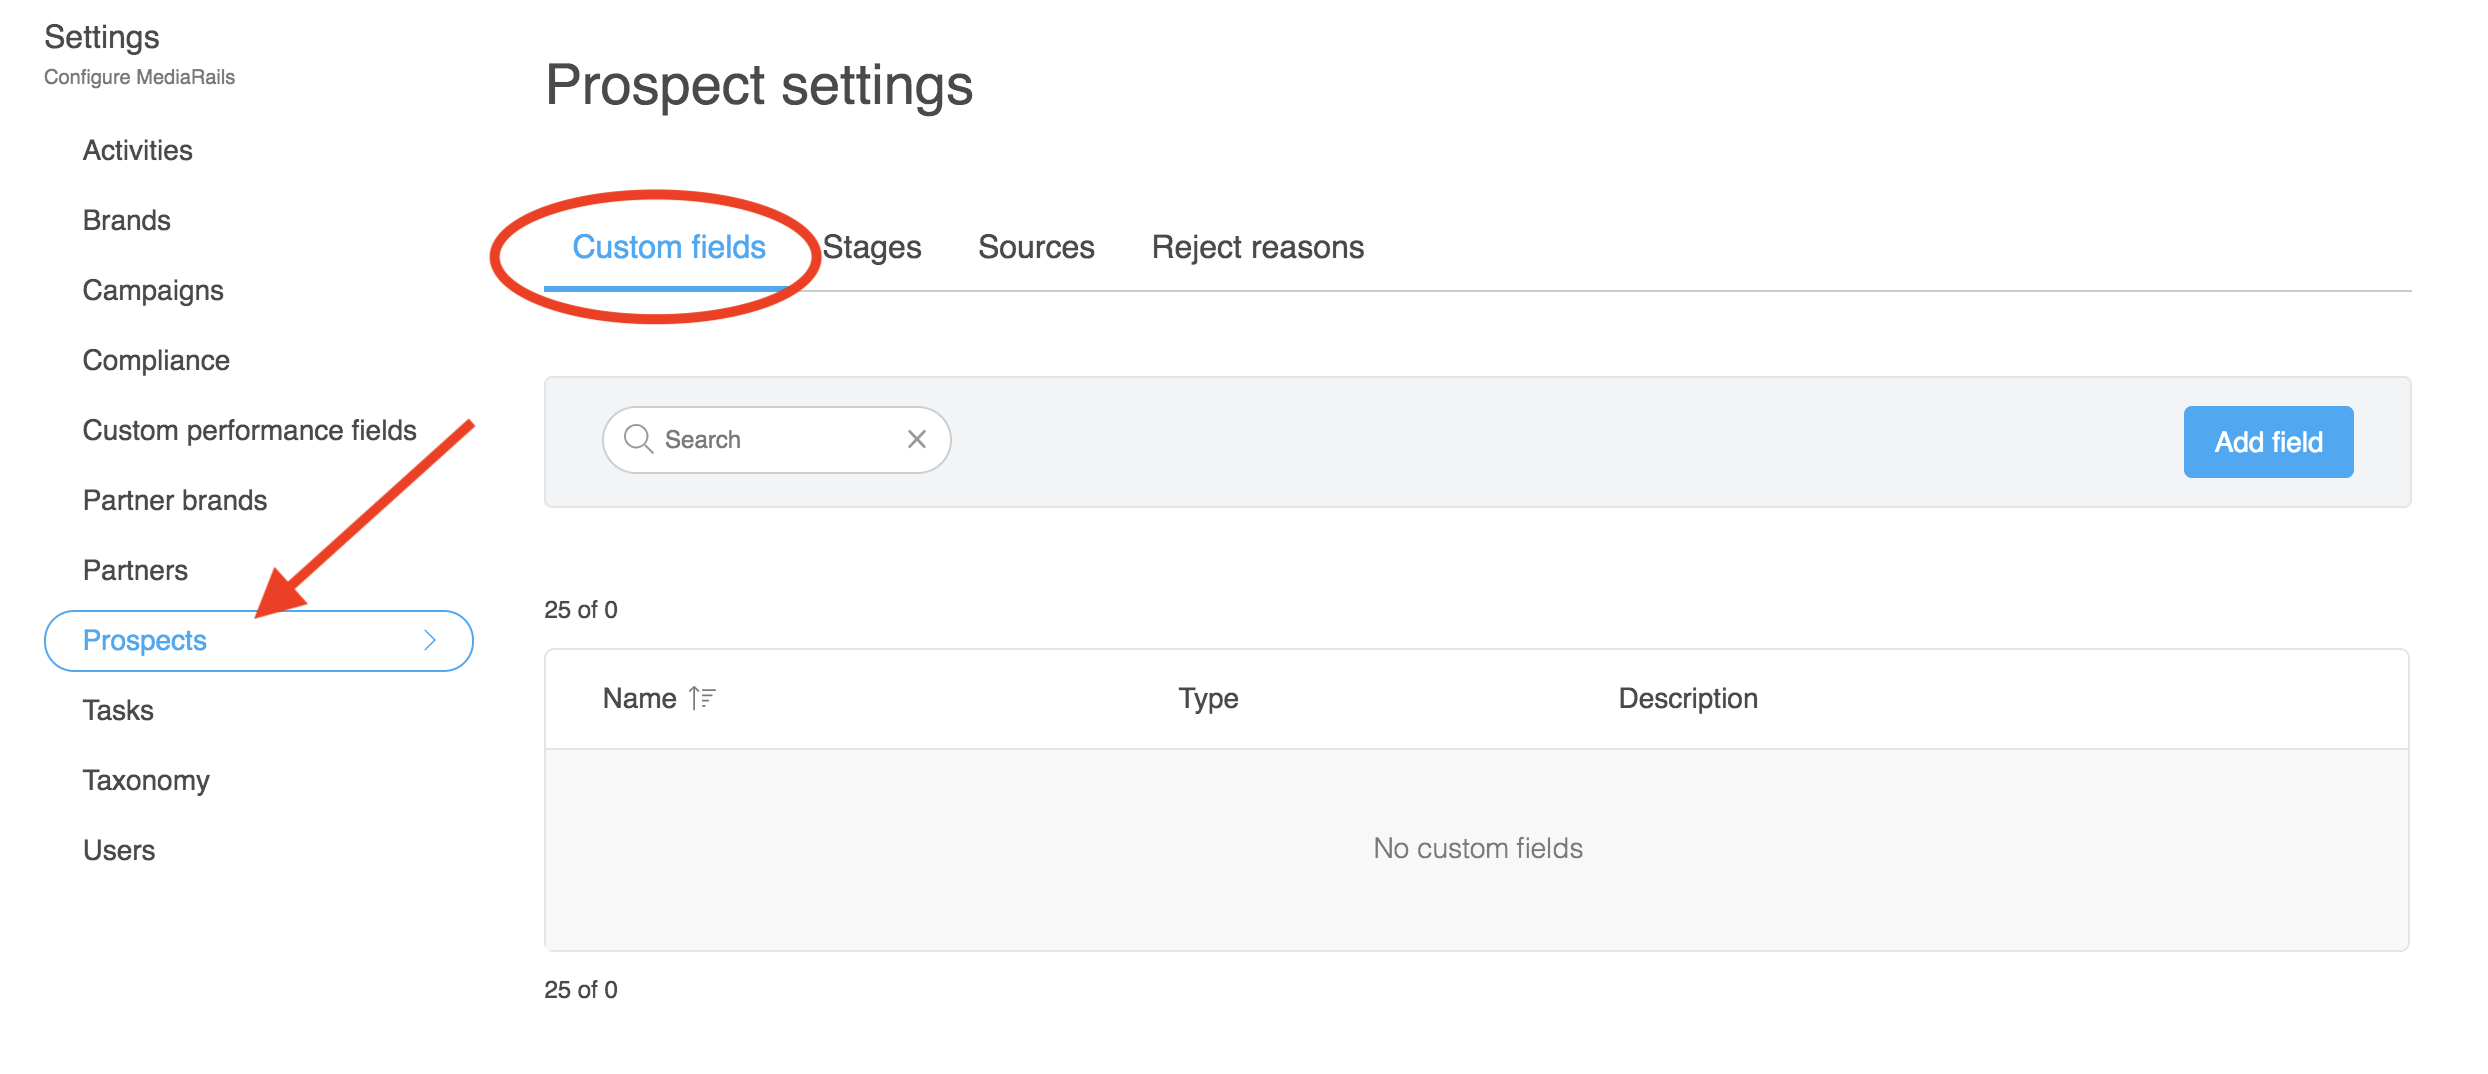
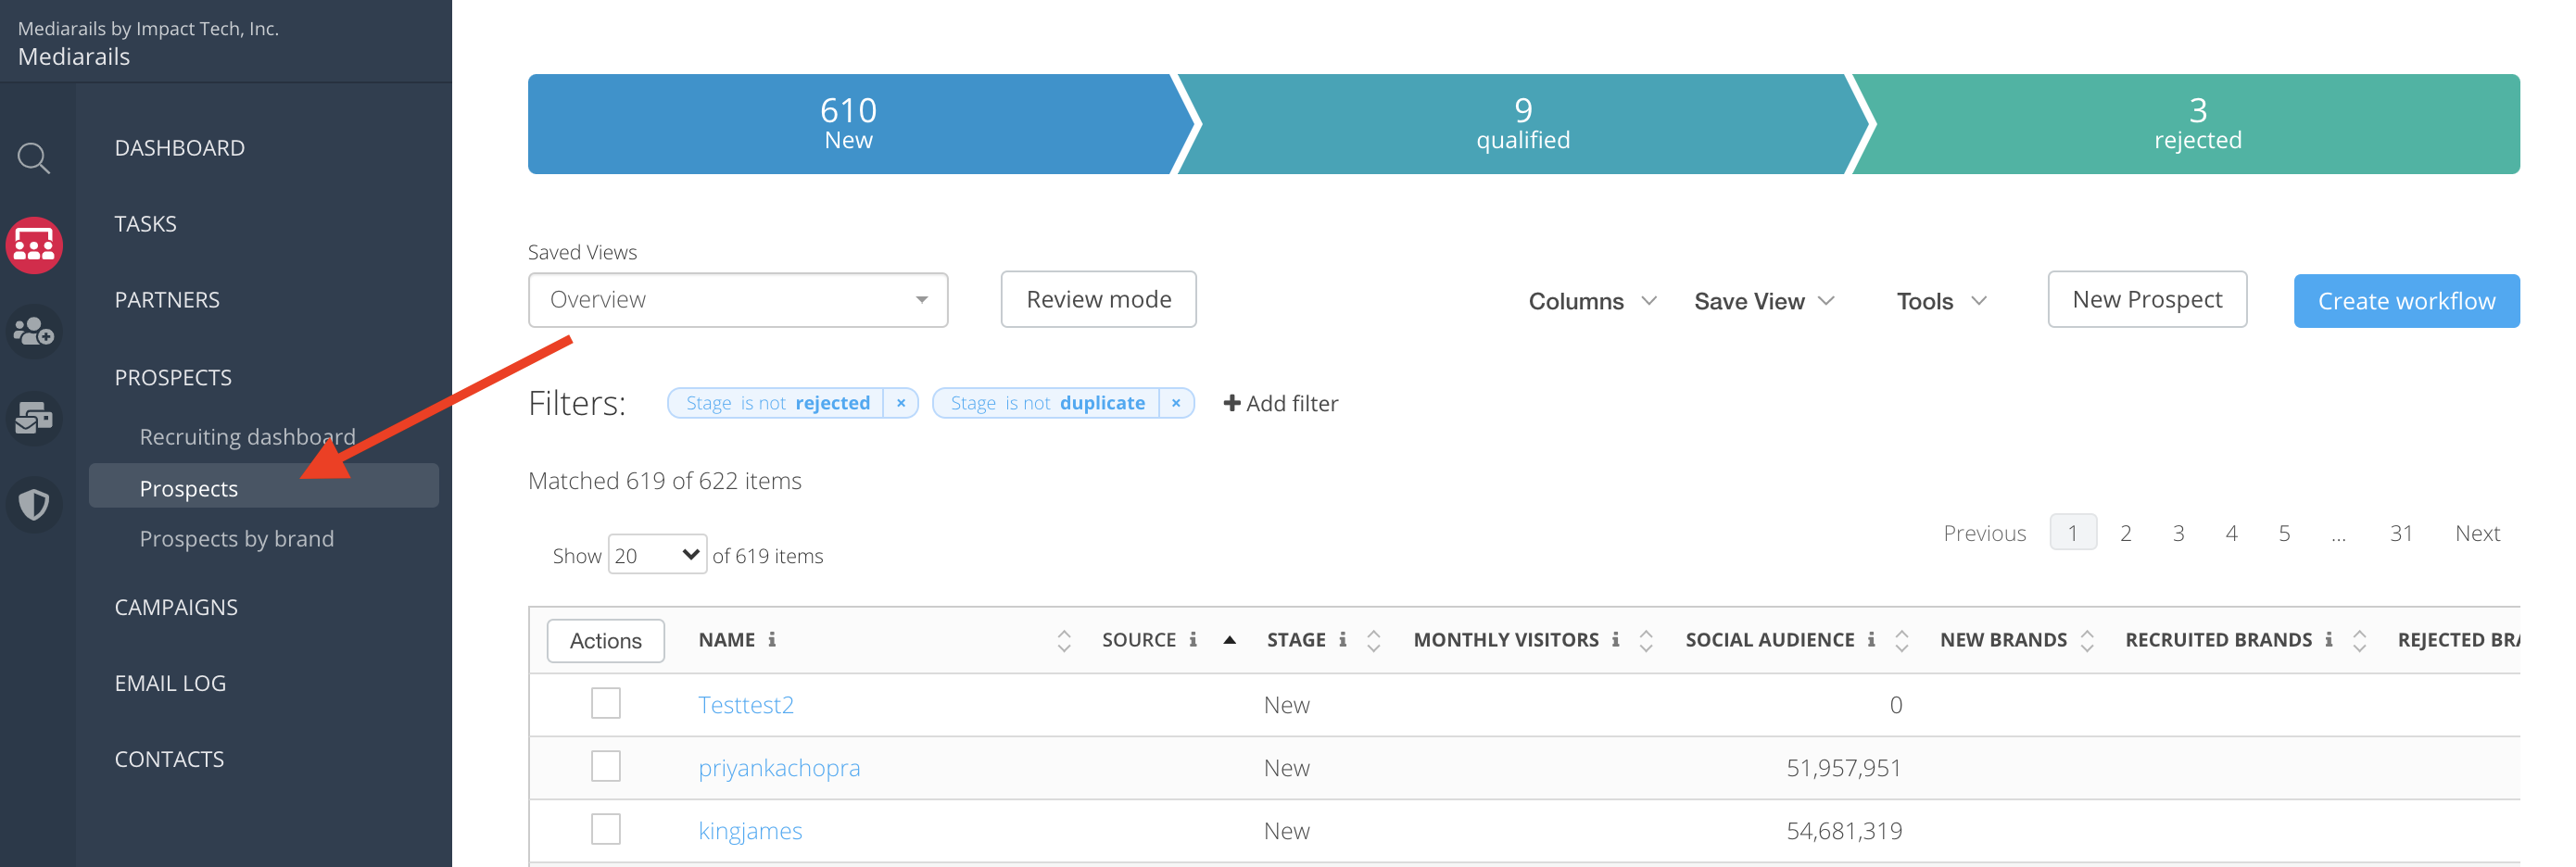
- Select the area of Mediarails that you wish to create custom fields.
For example, if you want to create a custom field in a recruiting email you would want to select Prospects, then Custom Fields. like on the image below:
-
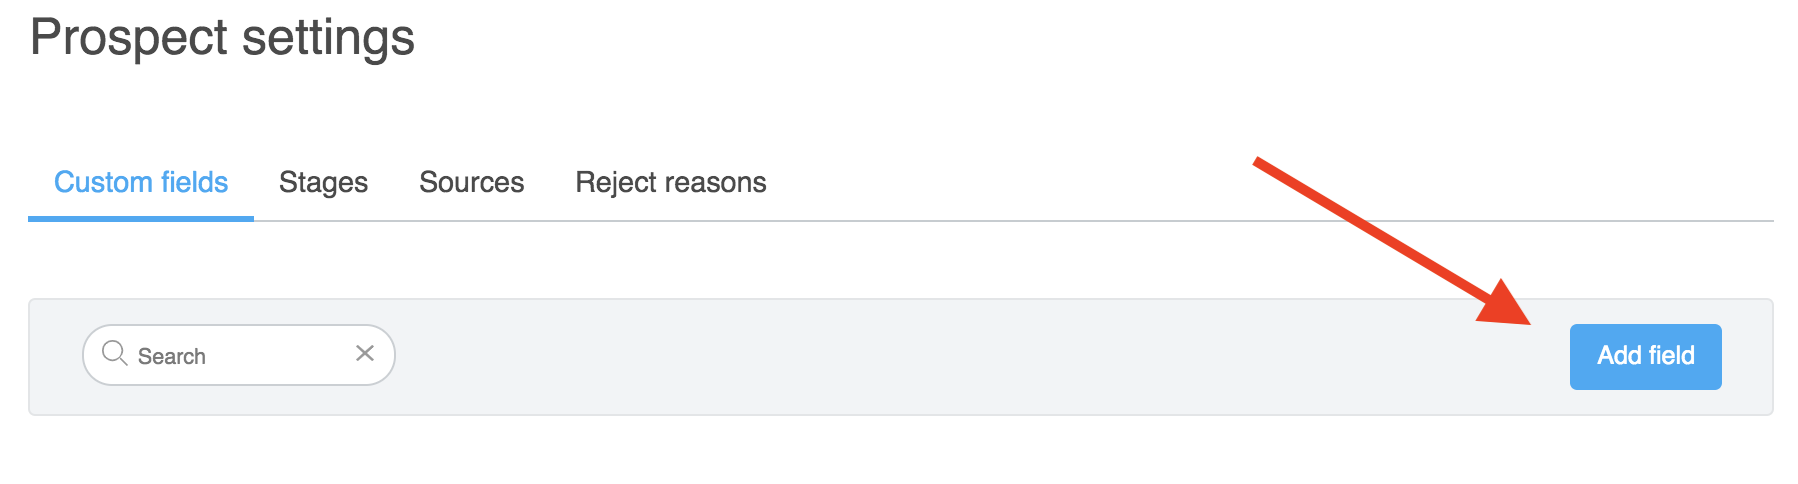
Click on the blue Add field button on the right:
-
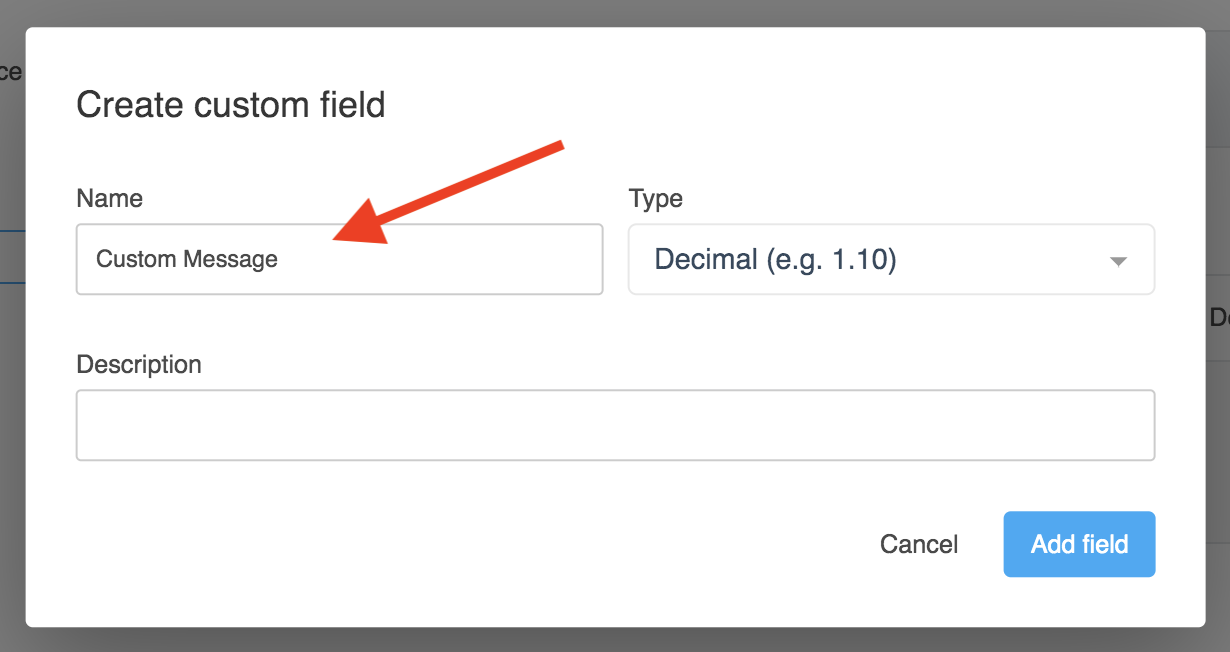
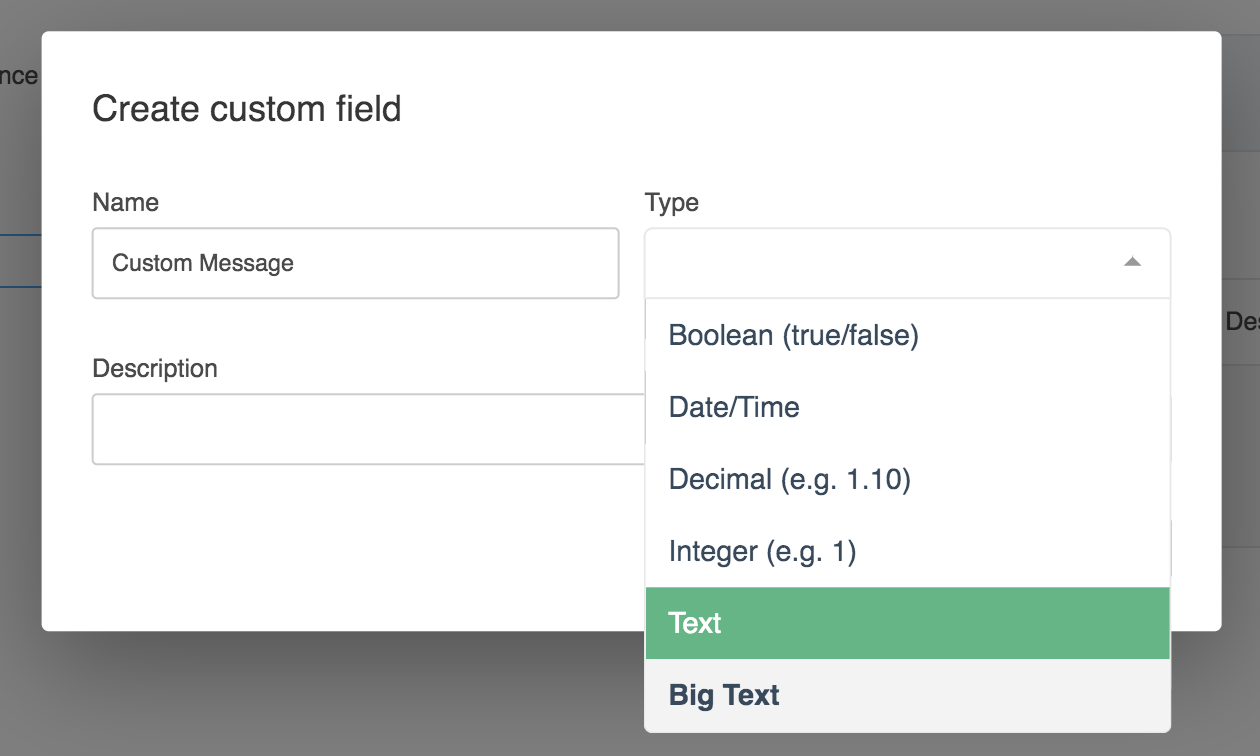
Add a Name for the field on the form that pops up. Describes the type of content you’d like to populate. For instance if you wanted to use a custom message you could call your custom field “Custom Message”
-
Choose what type of field you would like it, we’d recommend using Text (short form) or Big Text (long form) since they can be filled with whatever content you’d like:
Step 2: Populate your Custom Fields on Desired Records
Now that your Custom Fields are set up, you can edit the content that will populate the fields in the respective workspace.
-
Go to the workspace you created the Custom Fields for. For instance if you created the Custom Field group in the Prospect section, go to the Prospects workspace
-
Click on the Name of a record in the list view to be view the record's detail page

- Once on the detail page, click Edit in the top right corner to add values your new custom fields

- When the Edit screen opens, you will be on the Basic Information tab. Scroll down to the Custom Fields section and click Show Fields:
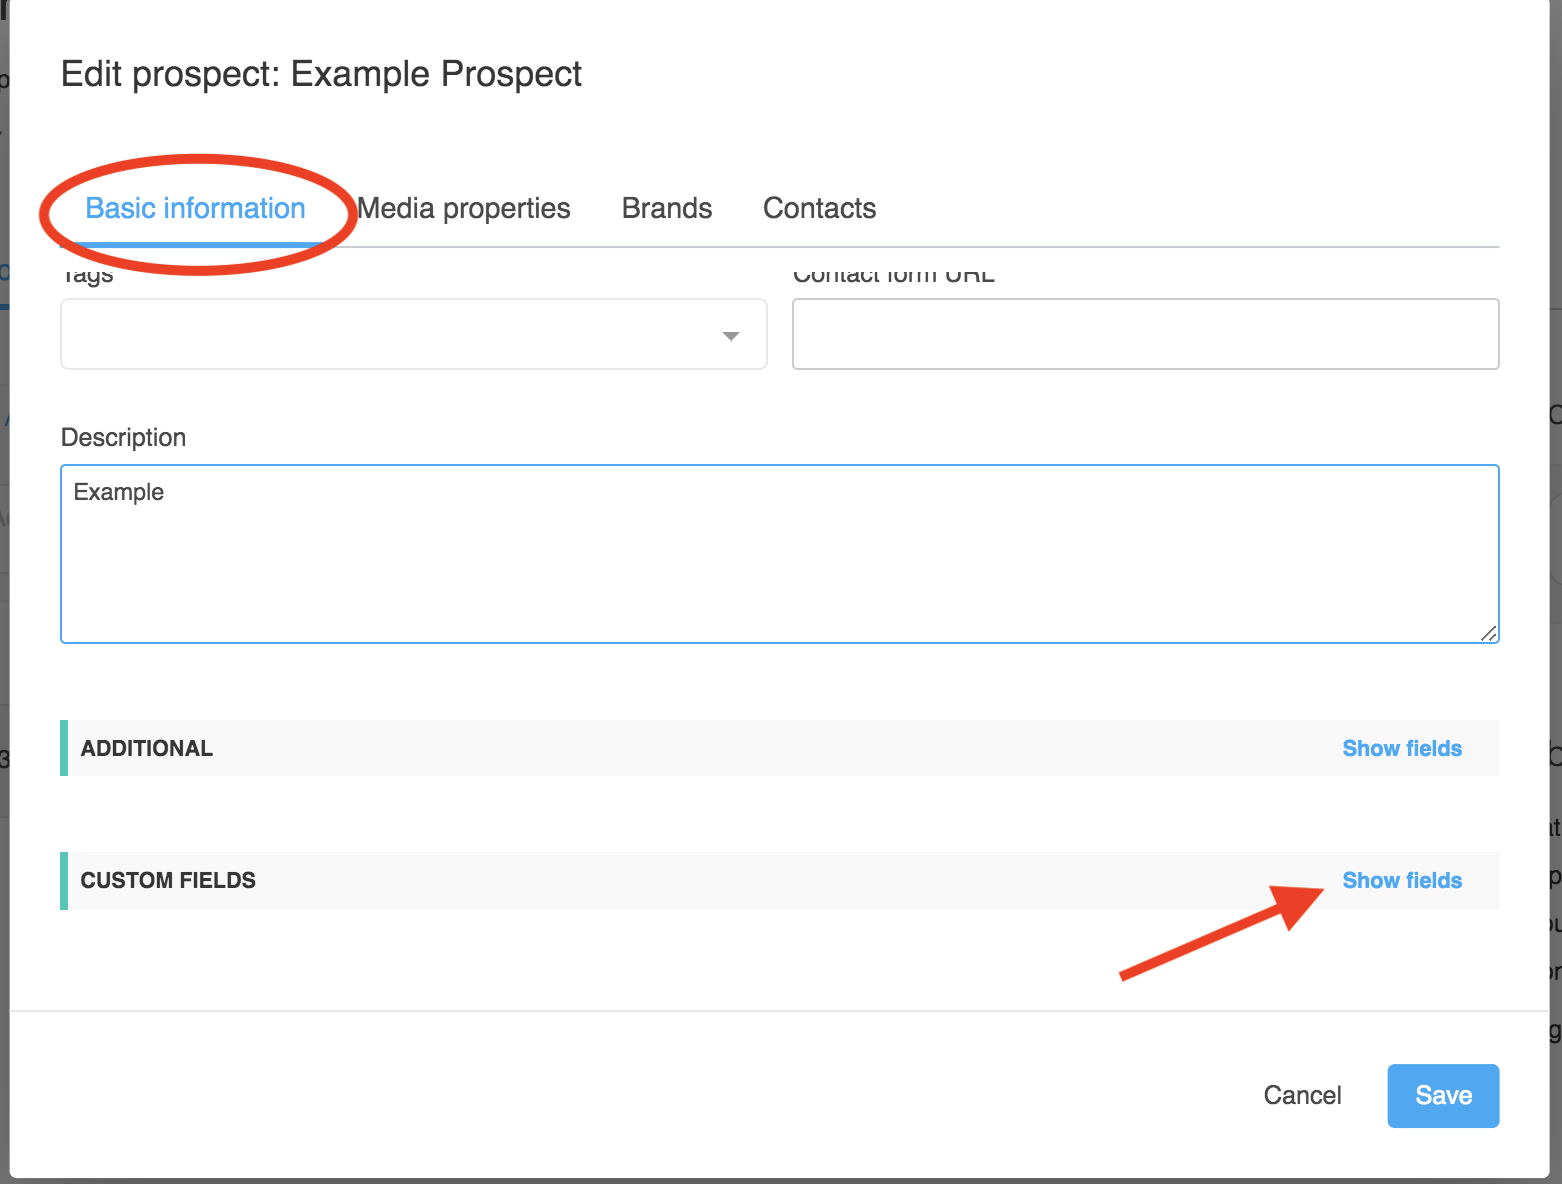
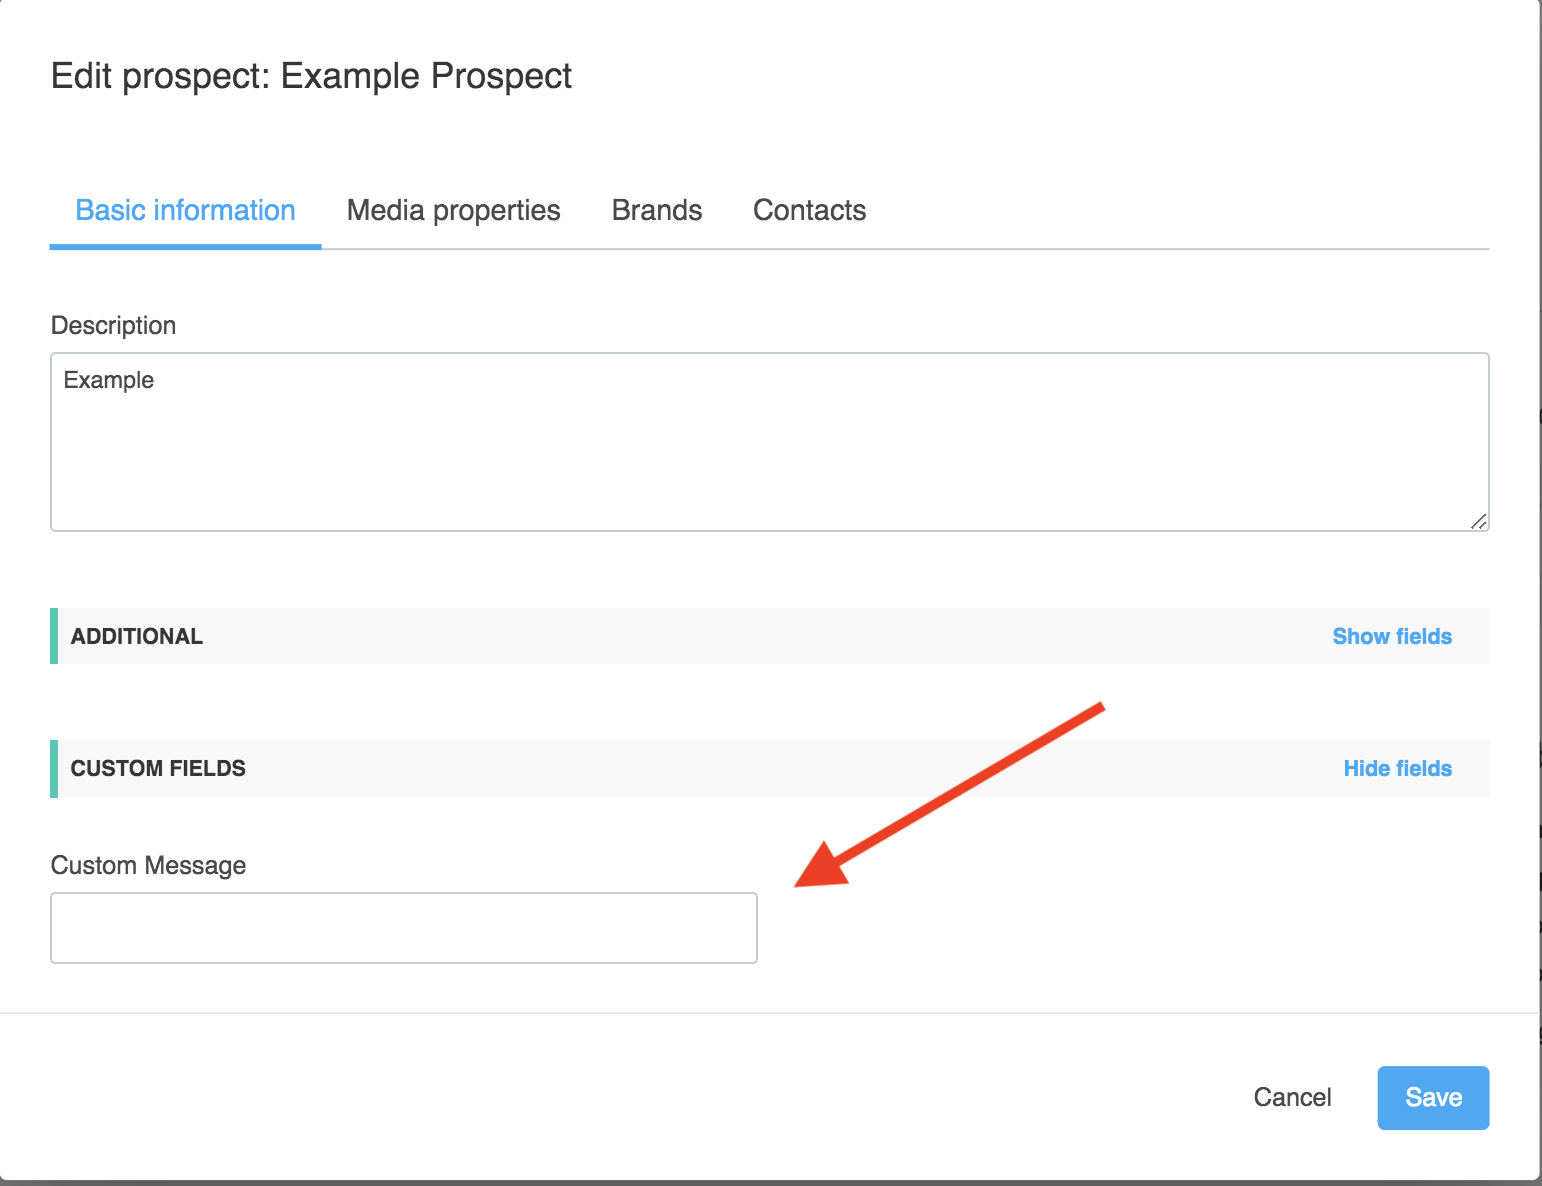
Note: this section is only visible after custom fields have been added in the settings page - Once the fields are visible, fill in your desired information:
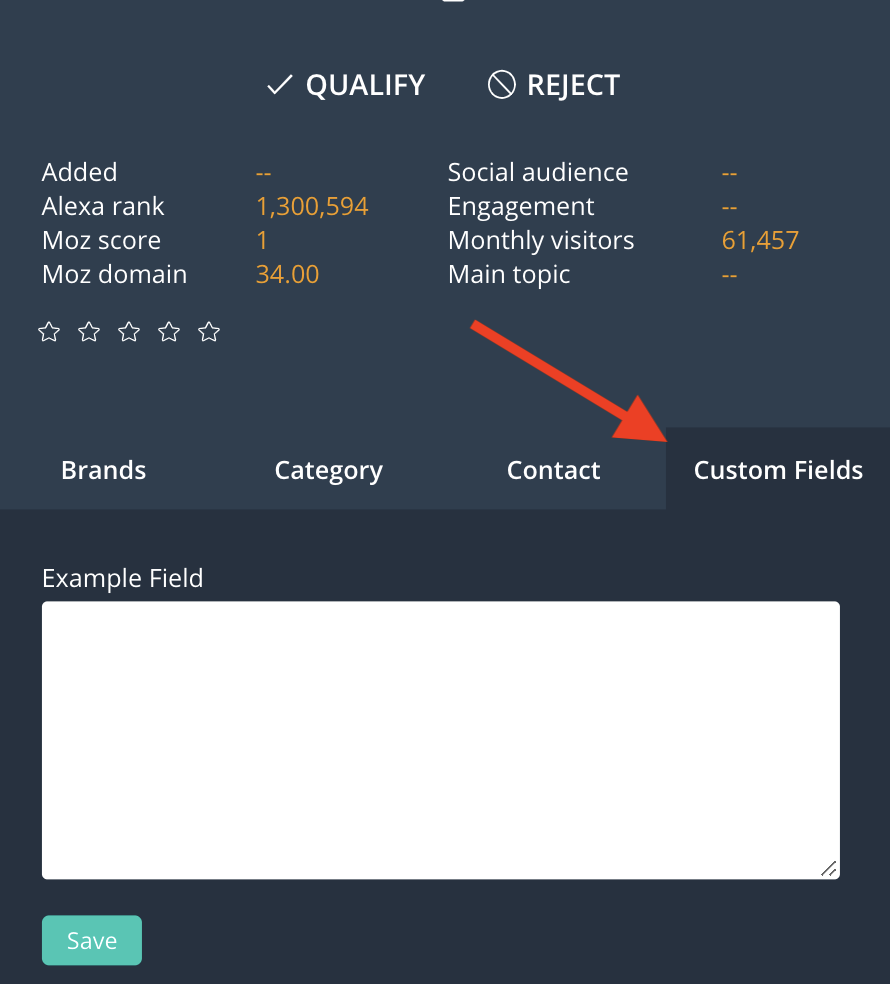
How to Populate Custom Fields while using Prospect Review Mode
You are able to populate custom fields while in the Prospect Review Mode. This makes it easy to add data to your Prospect records while you are reviewing them.
To populate data, select the Custom Fields tab to view your fields (example shown is a "big text" field) and select Save once you have typed in your desired data.
Step 3: Add Custom Fields as Dynamic Content in Email Messaging
Note: if you put the dynamic content for a custom field in an email you are going to send, this value must be present in order for the email to send just like any other dynamic content.
-
Go to the edit page of either an email workflow or a manual message
-
Use the dynamic content feature by beginning your dynamic content with cf, so a field name of "Custom Message" would be {{cf_custom_message}}

3. Save your workflow. Now when your message sends the dynamic content that you filled in will appear in place of where you added the custom field
Step 4: Add the records you fill out the custom field for to your workflows
Options:
- From a detail page using the manage workflow option
- Dynamic saved view based on the presence of this field, you can filter to Custom message > is not > blank
- From the list view using the Add to Workflow Action
Helpful link:
Managing email workflow lists manually
Comments
0 comments
Article is closed for comments.