
You have the ability to create custom fields for each section and type of record in the Mediarails system. Creating a custom field would result in a new column and filter for that field.
You can create these for many use cases where there is not an existing option for a field you need. You also have the ability to upload values into these fields in bulk via an import once the Custom Field is created in your account Settings.
Steps to Create a New Custom Field:
1. Navigate to the Settings page by selecting the three vertical dot icon in the lower left corner of the sidebar.

2. Determine the type of custom field you want to create (Prospects, Partners, Campaign, Etc.)
3. Select the corresponding section and you will find the tab for Custom fields (in the example below we selected Prospects).
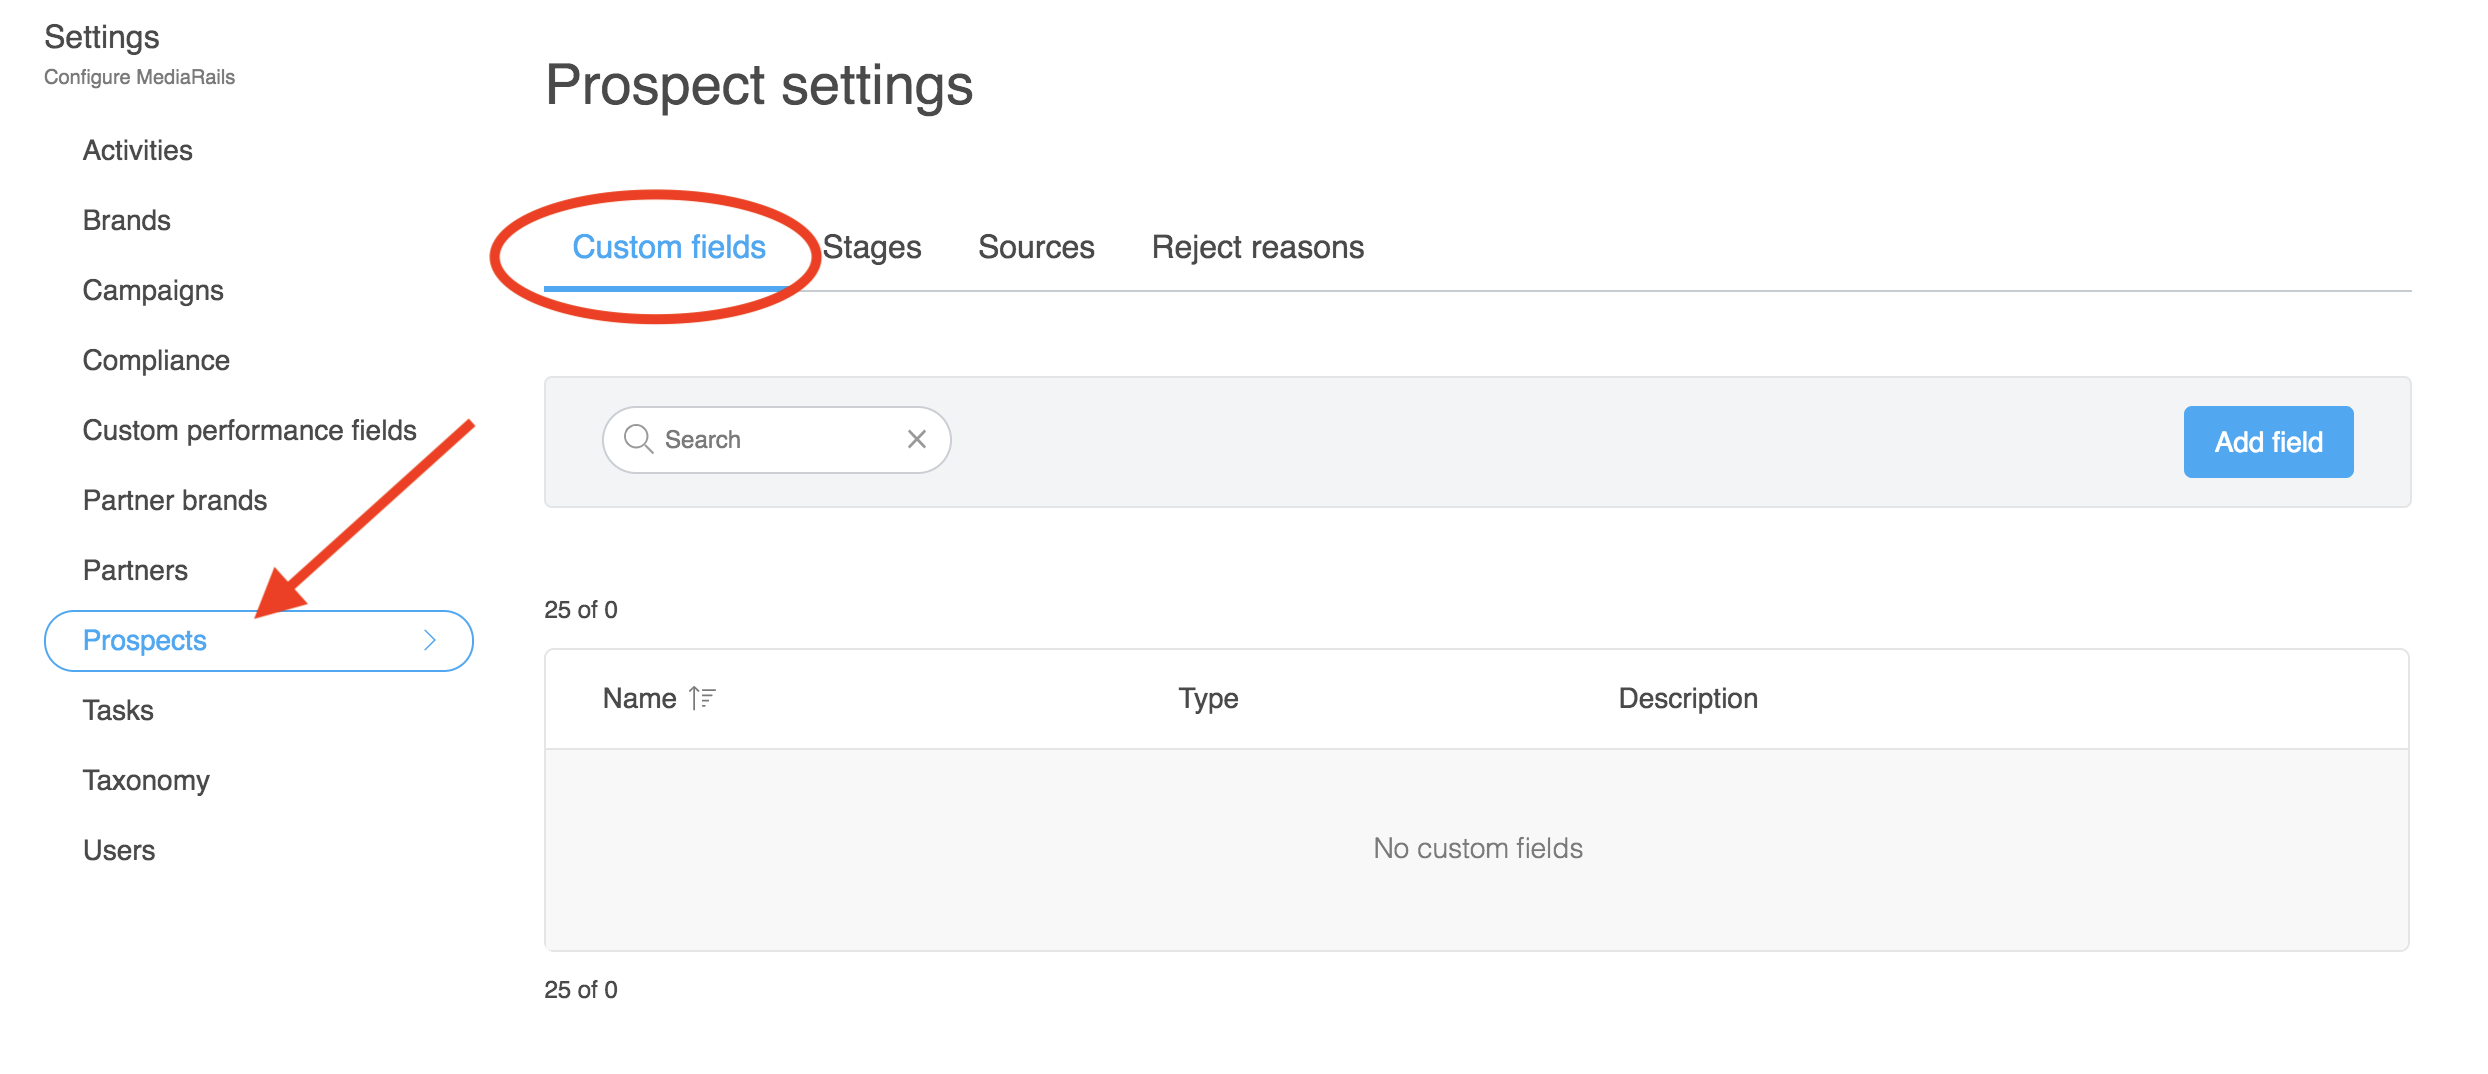
4. You will select the blue Add field button to open up the below options:
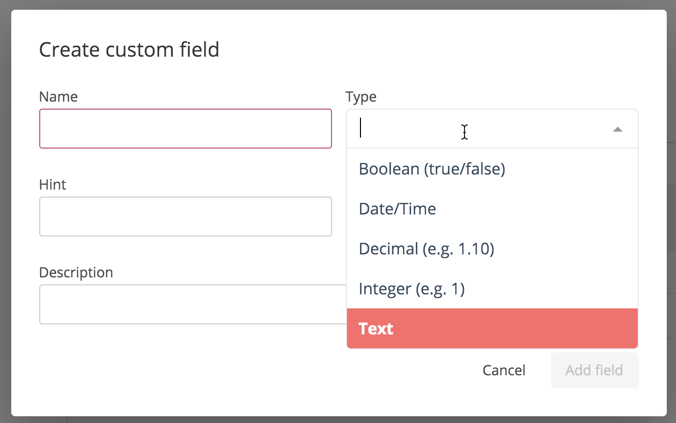
5. Give your Custom Field a name and determine the settings that best fit your needs.
For a couple examples you can select a Date/Time field where the system will only accept date formatted values. Or you could select Boolean where you will be limited to 1 or 0 where 1 = true and 0 = false. You then have the option to give your field a description to help other users know what it is for. The Hint will be displayed in the box as replaceable text to give the user a hint of what goes in the field.
6. Select the Add Field button to lock it in.
Once the Field is created you can edit the information on the record via an upload (see Additional Information section below) or by editing any corresponding record in the tool like the screenshot shows by selecting edit on a detail page or from the list view Action menu: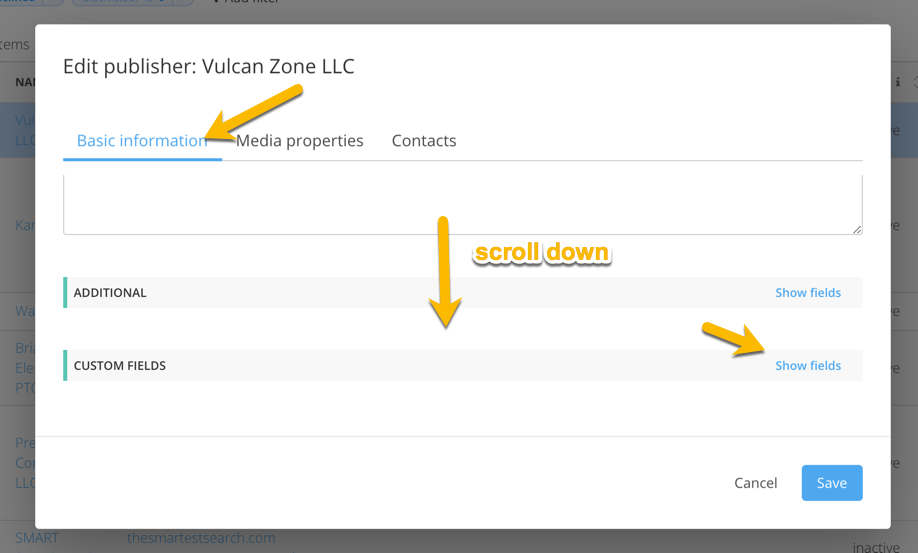
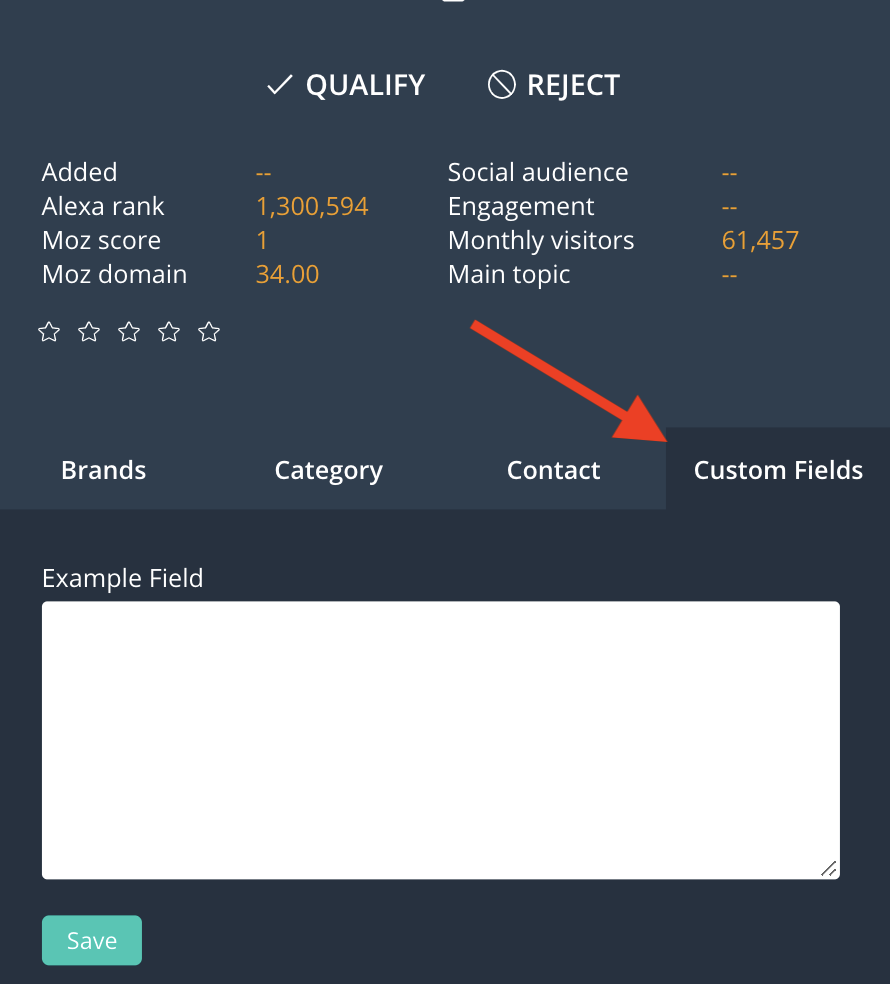
Populate Custom Fields while using Prospect Review Mode
You are able to populate custom fields while in the Prospect Review Mode. This makes it easy to add data to your Prospect records while you are reviewing them.
To populate data, select the Custom Fields tab to view your fields (example shown is a "big text" field) and select Save once you have typed in your desired data.
Additional information:
How to upload values in bulk to a custom field you created:
- Create the custom field using the instruction above
- Create an import file by either formatting brand new records or Downloading existing records to edit them, if editing make sure to include the required fields for editing (Prospects: ID and Name), (Partners: ID, Name, Network, Brand)
- You will need to add the Custom Field to your spreadsheet and make sure you replicate the exact name of the Field and you follow the formatting you specified for the values to load properly.
- Upload file into the correct workspace that you are creating/editing the records in. The Import option is located under the Tools menu.
- Review your upload to verify everything worked as expected by pulling in your new custom field as a column in your view.
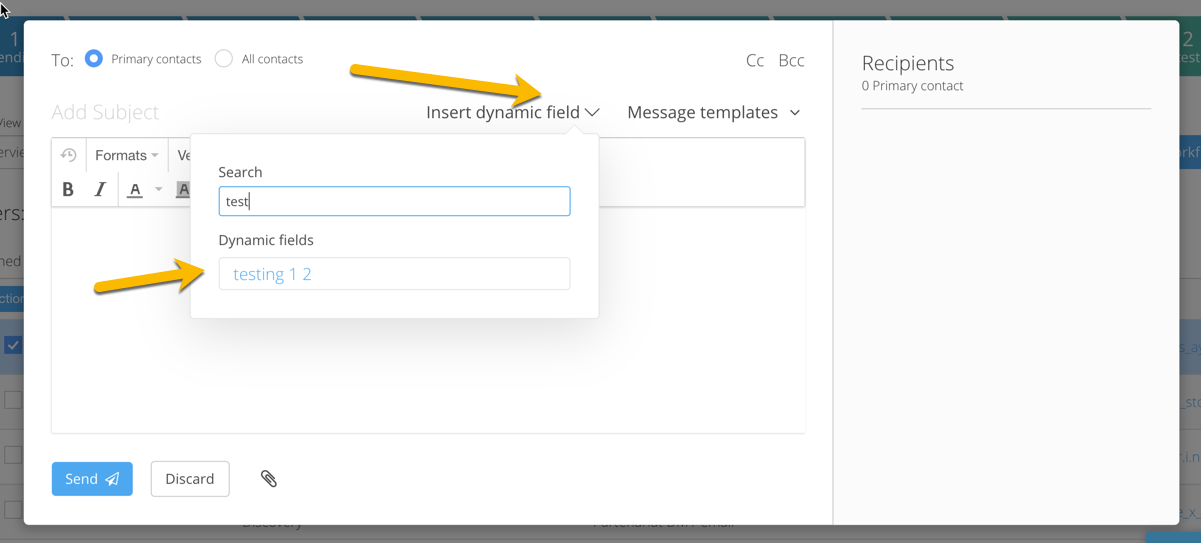
How to use a dynamic field as a dynamic property in emails:
- After creating your custom field you also have the option to utilize this as Dynamic content in your emails
- The process is as simple as using a normal field in the system. You simply select Insert Dynamic Fields in your email message setup and search for your new field
What values are accepted per field type:
- Boolean (True/False): 1 or 0
- Decimal: Number with a decimal Ex: 1.03
- Date/Time:
- yyyyMMdd HHmm
- yyyyMMddHHmm
- dd-MM-yyyy HH:mm
- yyyy-MM-dd HH:mm
- MM/dd/yyyy HH:mm
- yyyy/MM/dd HH:mm
- dd MMM yyyy HH:mm
- dd MMM yyyy HH:mm
- yyyyMMddHHmmss
- yyyyMMdd HHmmss
- dd-MM-yyyy HH:mm:ss
- yyyy-MM-dd HH:mm:ss
- yyyy-MM-dd HH:mm:ss.S
- yyyy-MM-dd HH:mm:ss.SSS
- MM/dd/yyyy HH:mm:ss
- MM/dd/yyyy hh:mm:ss a
- yyyy/MM/dd HH:mm:ss
- dd MMM yyyy HH:mm:ss
- dd MMMM yyyy HH:mm:ss
- Integer: whole numbers ex: 3 or 345
- Text: text string values Ex: the dog is brown
Comments
0 comments
Please sign in to leave a comment.