
Cloning an Email Workflow makes it easy to create a new or similar workflow without starting from scratch.
When you clone a workflow, the full line of messaging is copied over as well as most workflow settings. There is only one setting that does not copy over to the new clone, which is the Saved View that is connected to a workflow (if the Saved View method was used). More info can be found below.
How to Clone an Email Workflow
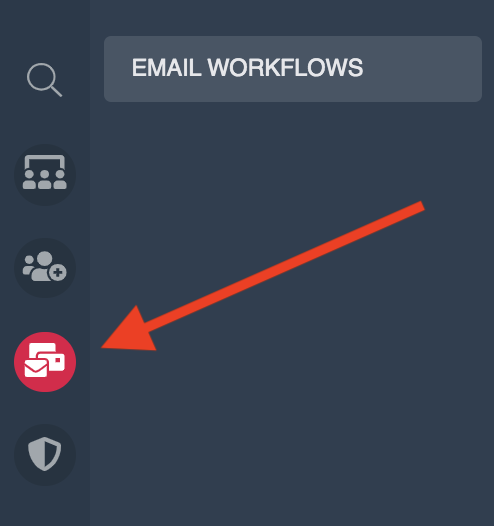
- Go to the main Email Workflow page by clicking on the Automate icon in your left sidebar
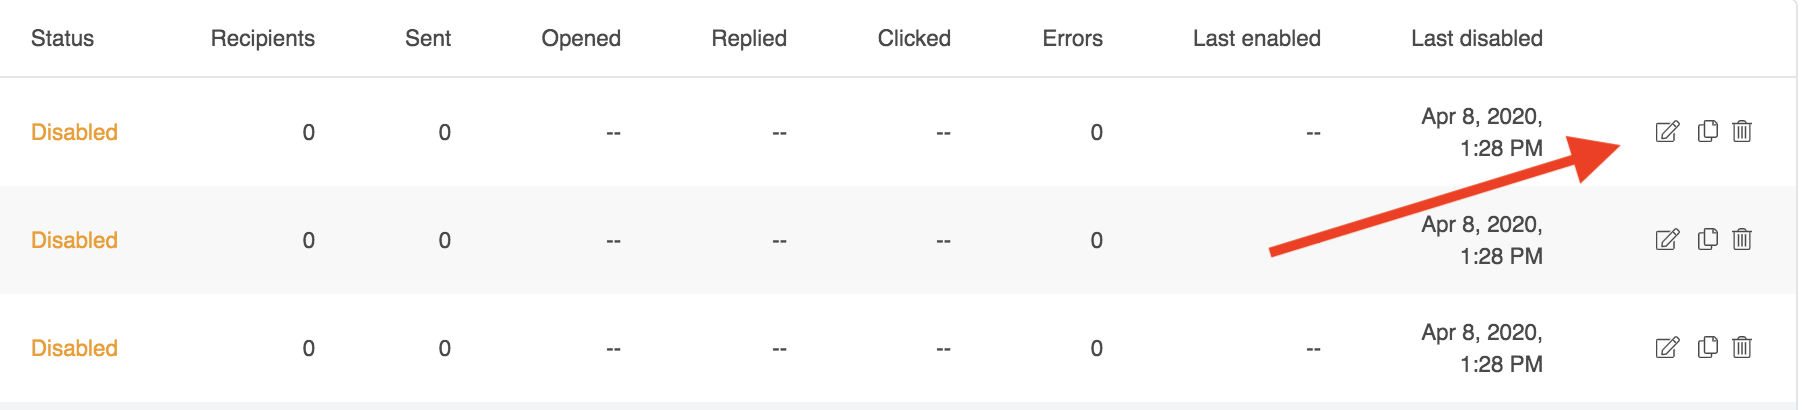
- Once the main Workflow page loads, locate the desired Email Workflow in the list and scroll to the far right to see the icons shown below:
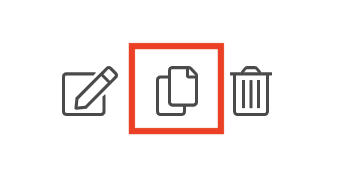
- Click on the Clone icon, shown below:
- A prompt will appear confirming that you want to clone the Workflow, press the option for Clone:

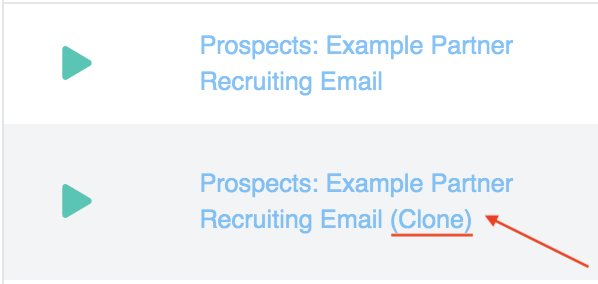
- The page will reload and you should see the newly cloned workflow in the list. It will have the same name as the original workflow but will have "(Clone)" after the name like shown below. We'll cover how to update the name in step 8.
- Now that the new Workflow is in the list, you might want to change a few settings or edit your messages. Scroll to the right to reveal the Workflow icons.
Click the Edit icon to edit the new workflow.
- On the first page of setup there are two options. They are underlined in red below:
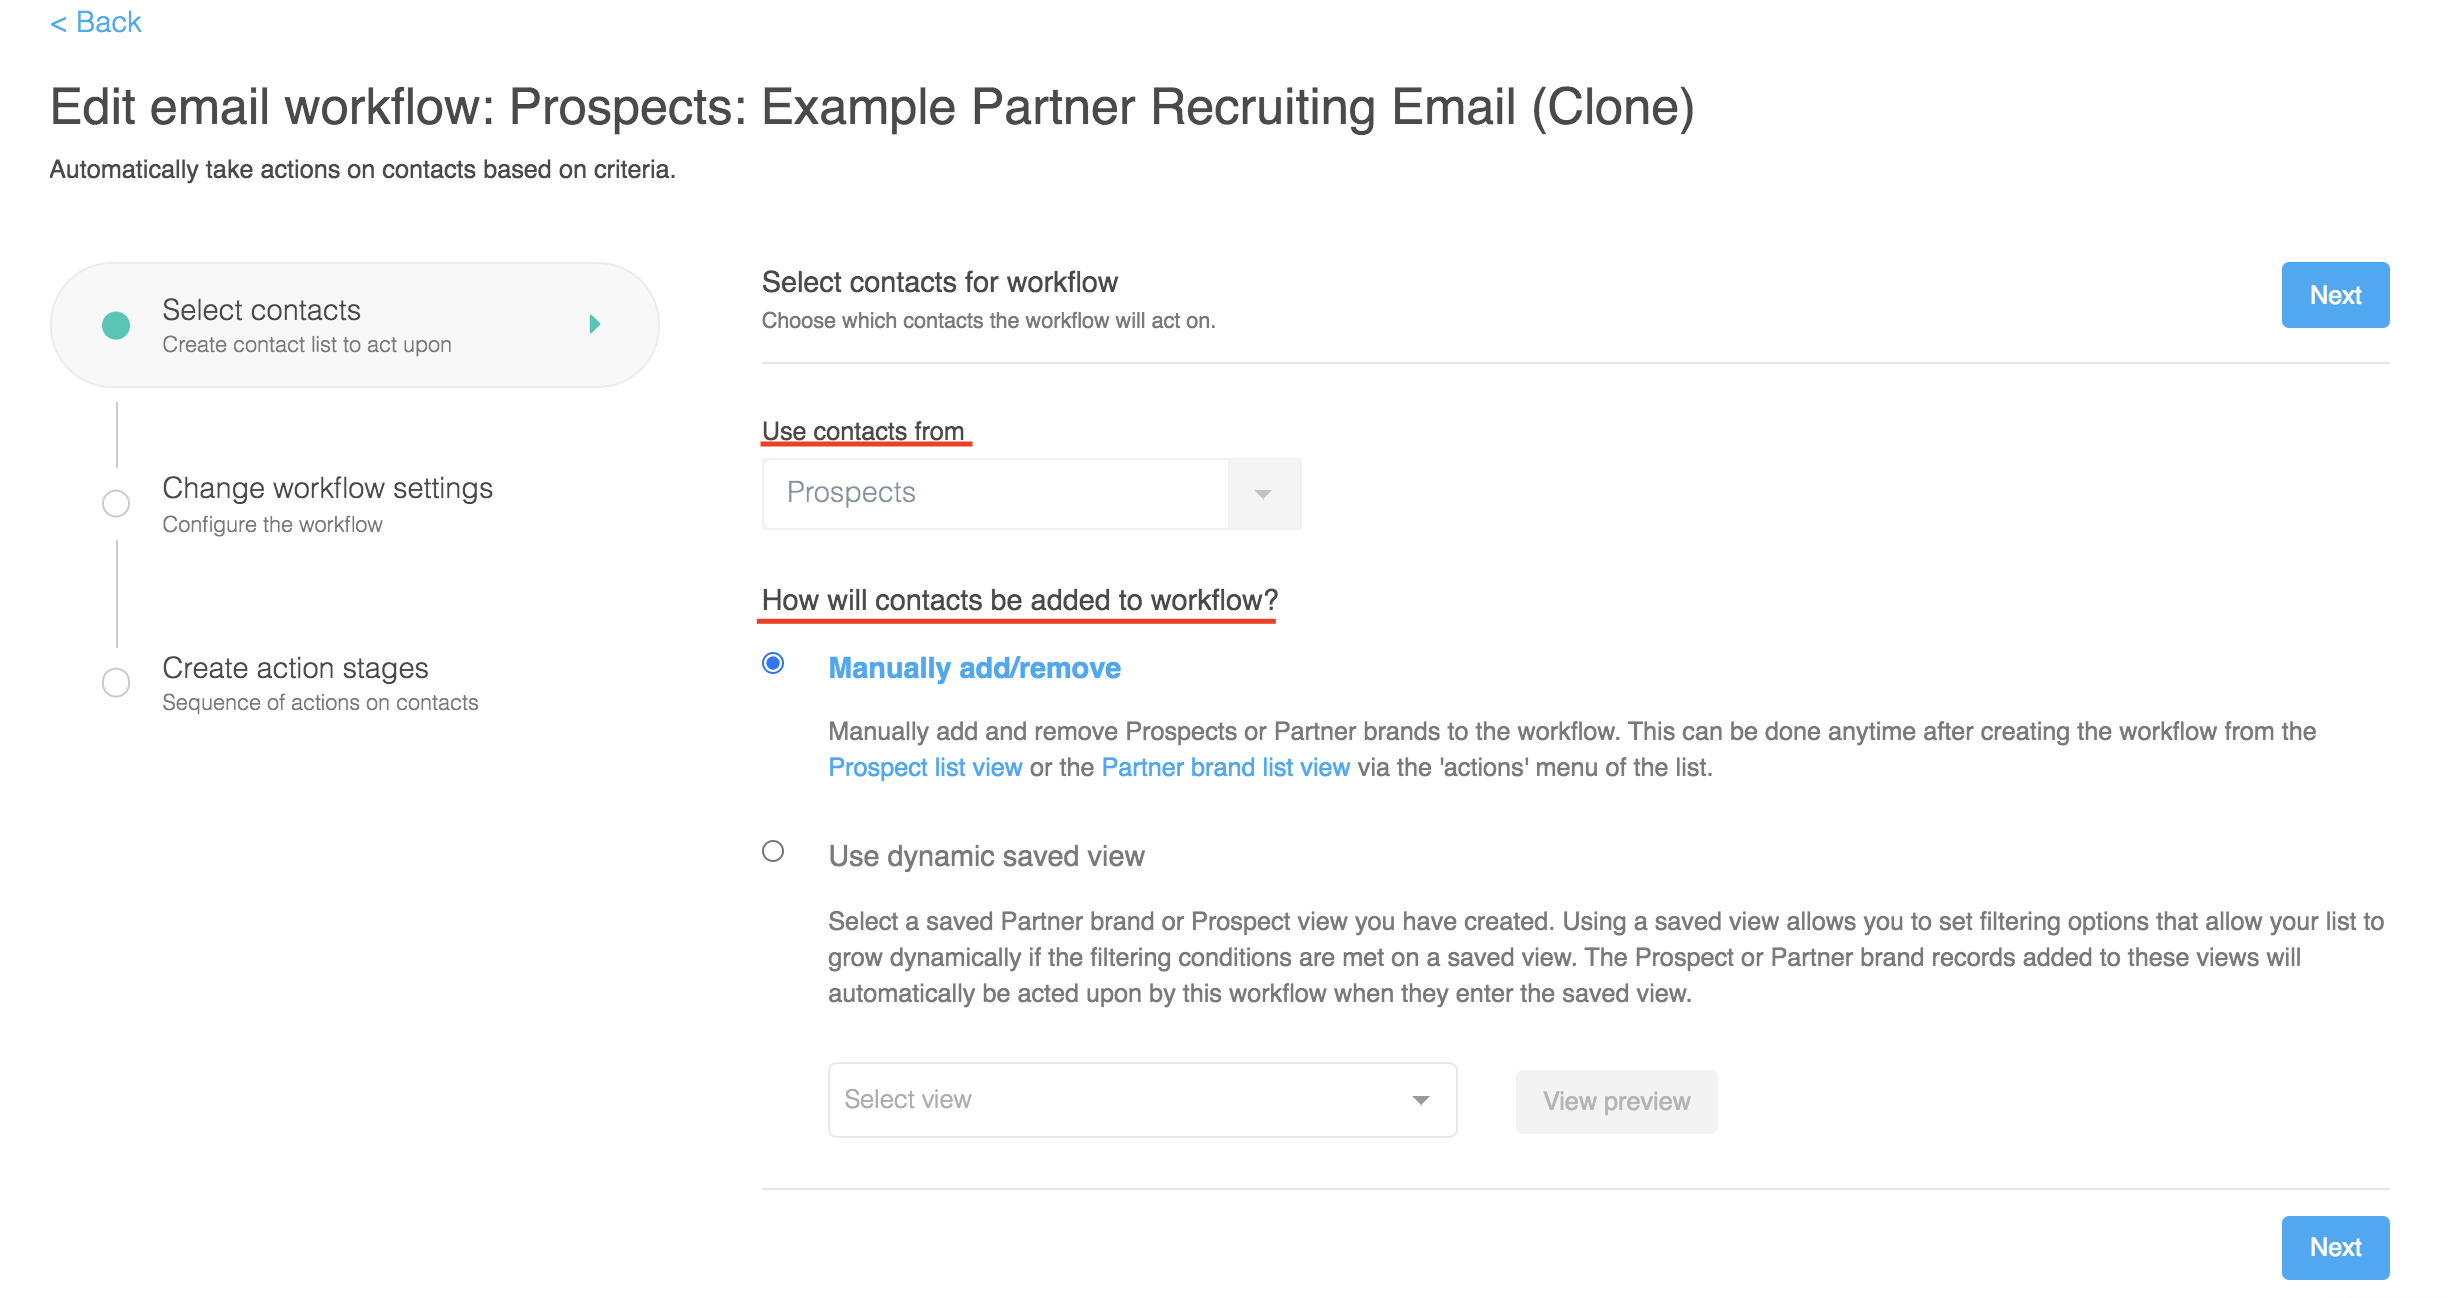
- Use Contacts From: this option has already been copied over. This is to connect the workflow to the Mediarails section that houses the records you would like to reach out to (Partners, Partners by brand, Prospects, etc...).
- This cannot be changed, clone a workflow that is already set to go to the same recipient group as needed
- This cannot be changed, clone a workflow that is already set to go to the same recipient group as needed
- How will contacts be added to workflow?: This is the only setting that does not get copied from the original workflow, instead it defaults to the Manual option so that you can connect the correct Saved View to the email workflow and avoid any mistaken sends.
- Manual Option: Default for any cloned workflow
- Dynamically Saved View Option: If the original workflow was set to a specific saved view, that view will not be copied over. Please select a new view from which to pull your recipients. For more information on saved views, see article here.
- Use Contacts From: this option has already been copied over. This is to connect the workflow to the Mediarails section that houses the records you would like to reach out to (Partners, Partners by brand, Prospects, etc...).
- Click Next to go to the 2nd page of setup. On the second page, checkover all the options and make sure they align with what you want for this new Workflow.
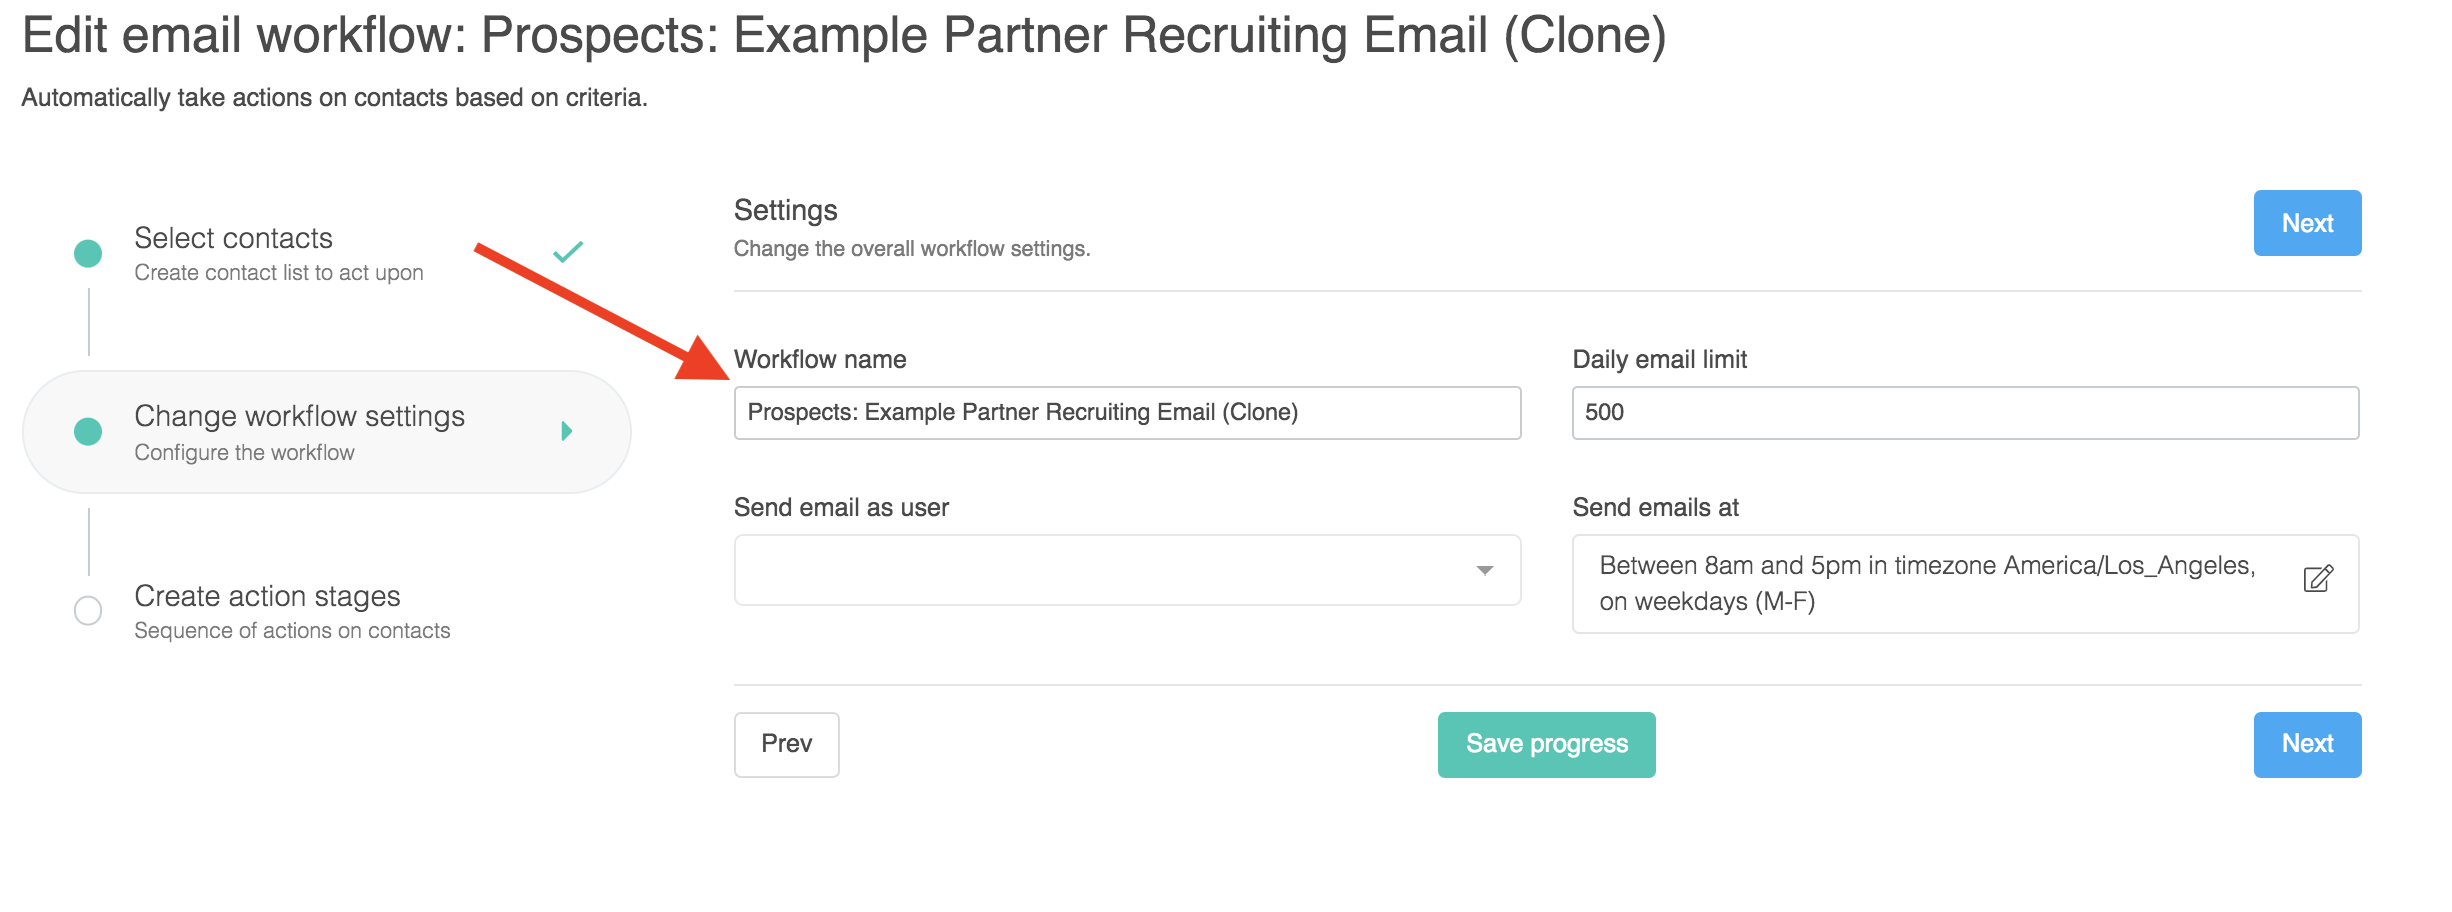
- Rename the Workflow (see arrow above)
- Make sure the User correctly reflects the team member who will be sending emails and receiving responses for this Workflow
- Make sure the Daily Email Limit is where you'd like it to be
- Schedule the email start date or set the days & times the email will go out in the "Send Emails at" field
- Click Next to go to the third page of setup. This is where your messages will be.
- To edit one of your messages, click on the envelope icon next to the message
- To edit one of your conditions (like number of days between each follow up message), click the arrow icon next to the respective condition

- Once you are finished editing, click the Save Workflow & Finish button

...and you're done! Your new workflow is ready to go and you can edit it at any time by following the same steps as outlined above (steps 6-10).
Comments
0 comments
Please sign in to leave a comment.